State Transitions panel
The State Transitions panel visualizes changes in discrete values from your expressions. Use FoxQL to specify which values to track. FoxQL functions are supported; see the Series settings for details.
The panel displays data for specified topics across the entire visualization time range.
Current playback time will be indicated by a vertical gray bar.
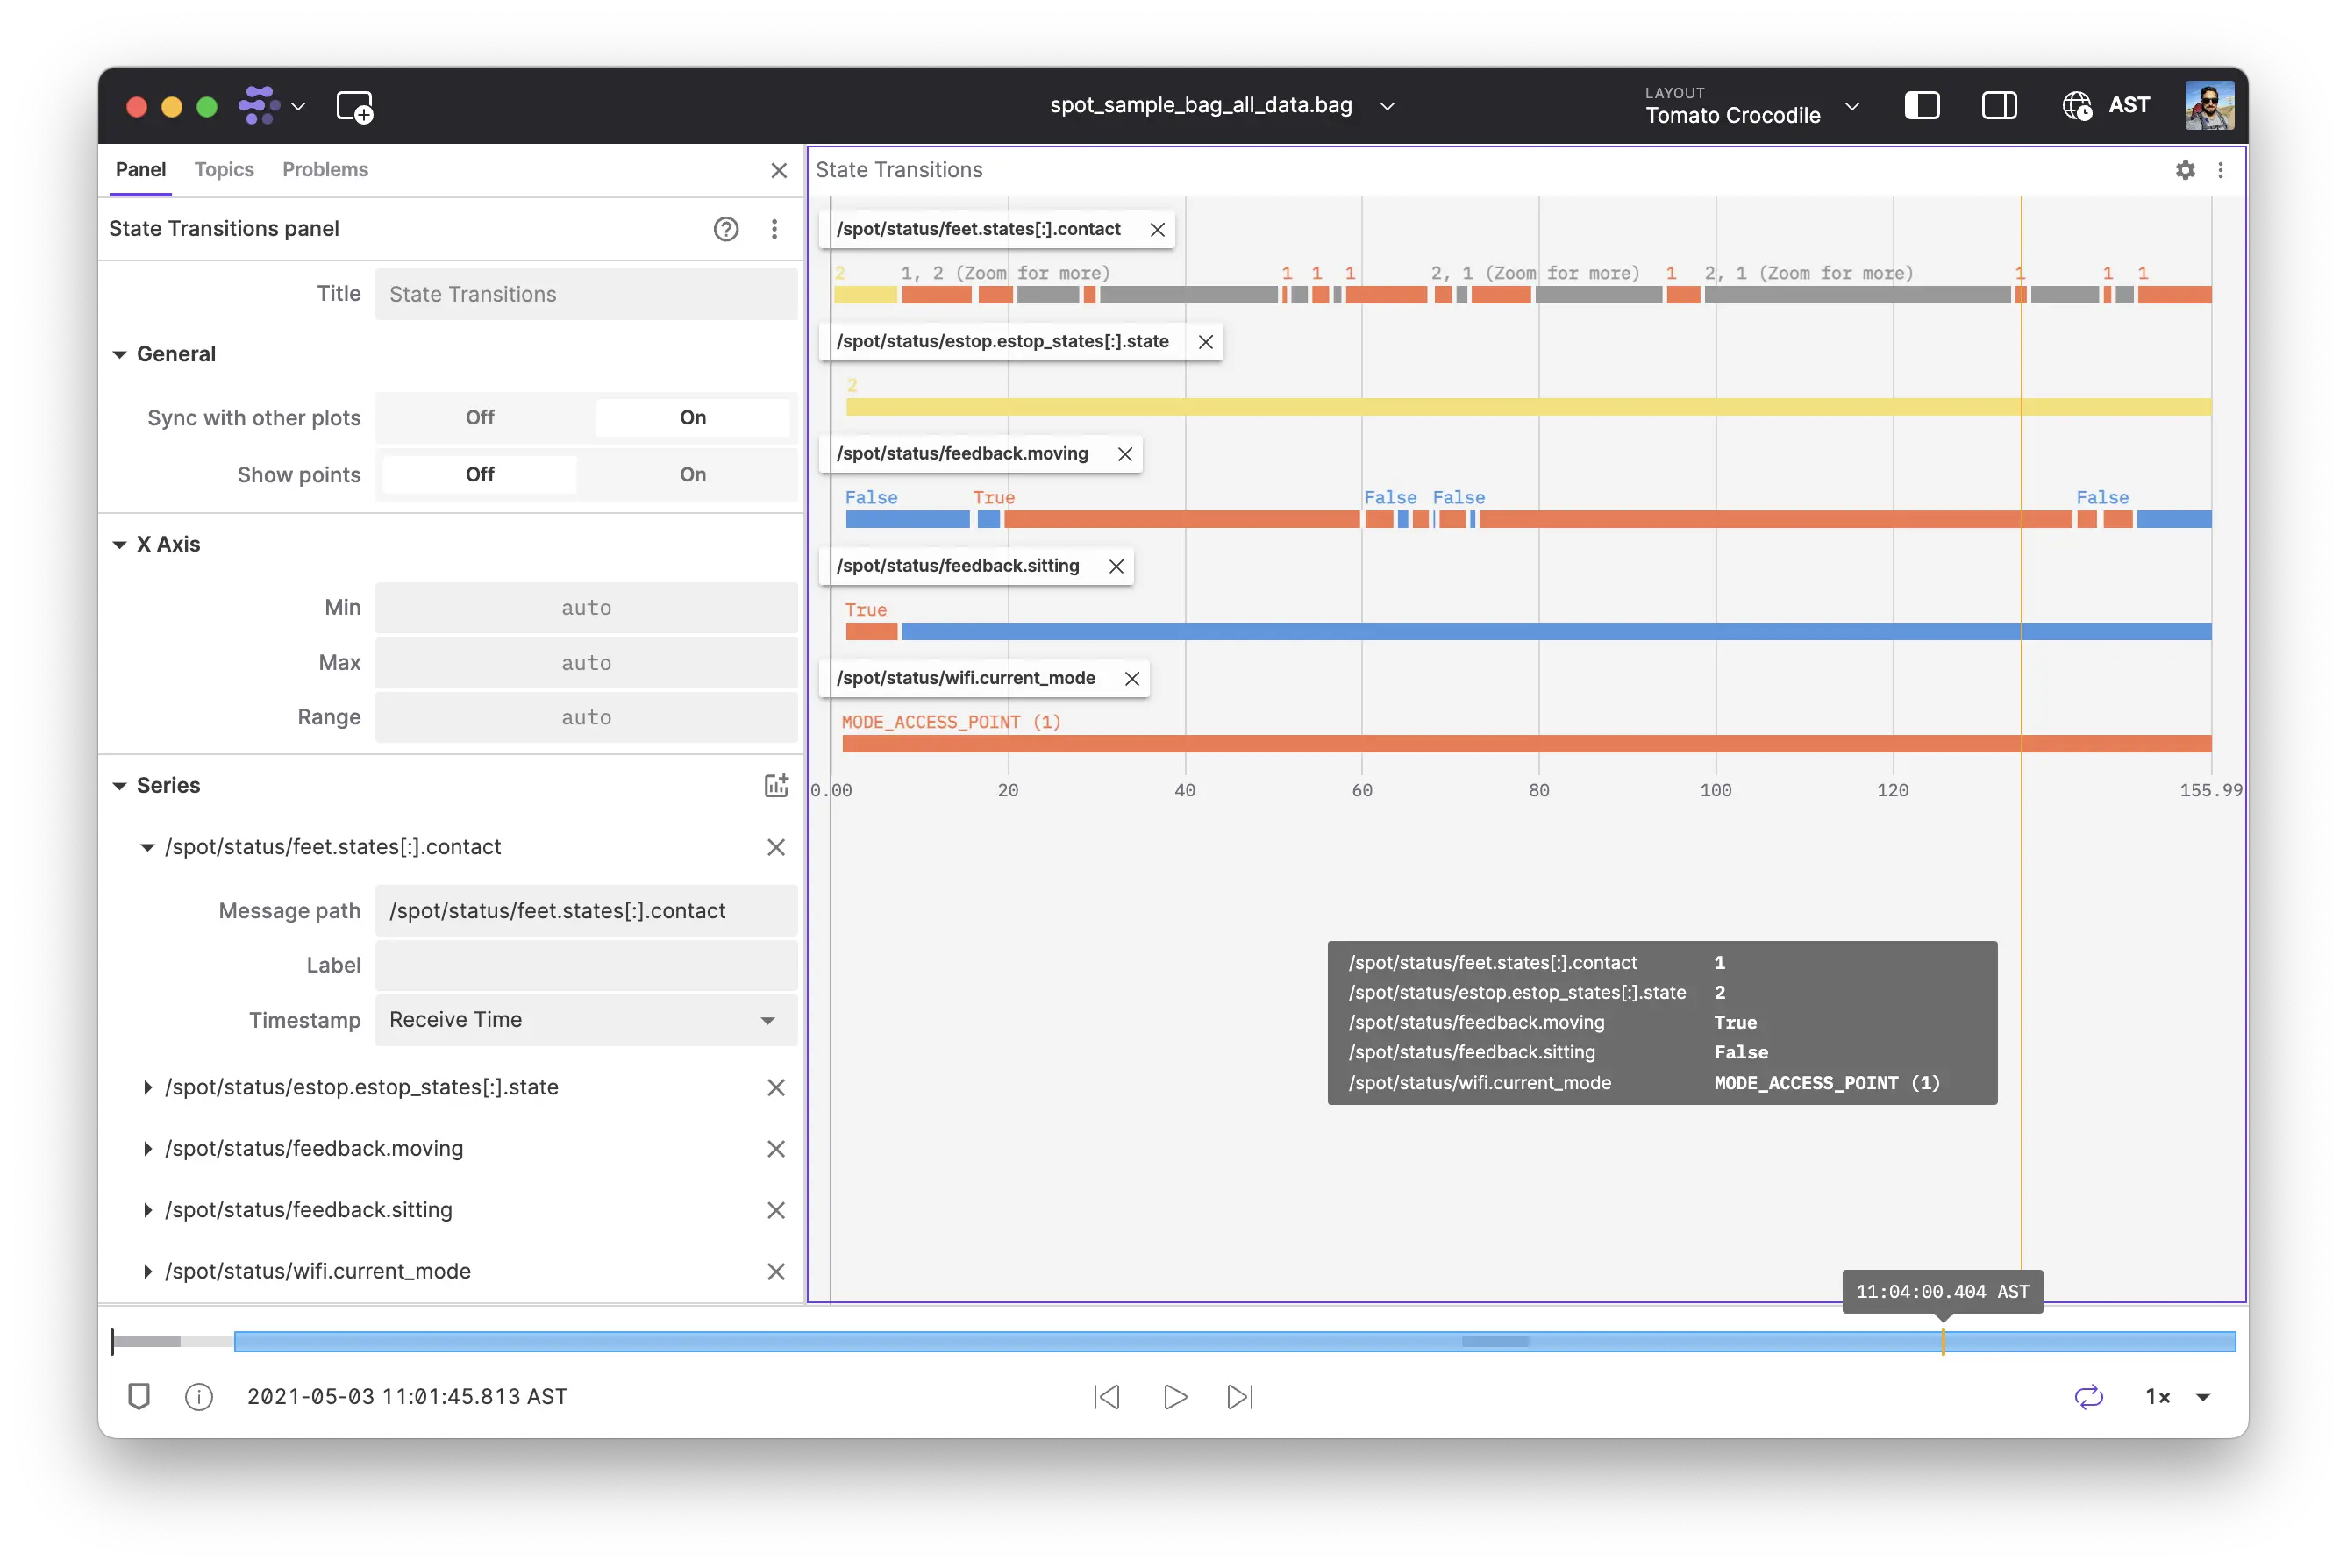
Paths can point to any primitive value (numbers, booleans, enums, etc.), but will be most useful for enums.
Constants included in your ROS message definition will be displayed as a label for each "enum" plot. Limit enums to one per message definition, as Foxglove will not know which constant name to use in the event of multiple matches.
Settings
General
| field | description |
|---|---|
| Sync with other plots | Sync zooming and panning with other plots |
| Show points | Show a point for each incoming message |
| Show series labels | Display series labels. When hidden, rows compress to fit more series on screen |
X-axis
| field | description |
|---|---|
| Axis label | Label displayed along the time axis |
| Timestamp format |
|
| Time window |
|
| Window size | For Sliding time window: range of time in seconds |
| Playhead position | For Sliding time window: either at the center or the right edge |
| Min | For Fixed time window: min value in seconds |
| Max | For Fixed time window: max value in seconds |
Series
To reorder series, drag a row to a new position or use the row actions menu.
| field | description |
|---|---|
| Expression | FoxQL expression containing values for the series. When the expression resolves to an array of objects, the panel can render dynamic sub-series — one row per distinct label. In Comparison mode, the same expression renders one row per loaded source. |
| Label field | For dynamic series: field name on each array element used as the sub-series name. Defaults to label. Shown when the expression targets a dynamic array. |
| Value field | For dynamic series: field name on each array element containing the state value. Defaults to value. Shown when the expression targets a dynamic array. |
| Array expansion | For a value expression that resolves to an array of primitives (numbers, strings, or booleans): None (the default) preserves existing behavior — it does not expand a bare array, while an explicit [:] slice collapses every element onto one interleaved row. By index renders one row per array index. Shown when the expression targets a primitive array. |
| Label | Label displayed for the series. For dynamic series, this label applies to all sub-series from that path, and each sub-series's label from the data is shown alongside it. |
| Timestamp | Timestamp used for message ordering:
|
| Customize | State customization strategy:
|
Supported FoxQL functions
Scalar (.@abs, .@acos, .@asin, and more)
| Function | Description |
|---|---|
.@abs | Absolute value |
.@acos | Arc cosine (radians) |
.@asin | Arc sine (radians) |
.@atan | Arc tangent (radians) |
.@ceil | Round up to nearest integer |
.@cos | Cosine (input in radians) |
.@degrees | Convert radians to degrees |
.@log | Natural logarithm |
.@log1p | Natural log of 1 + value |
.@log2 | Base-2 logarithm |
.@log10 | Base-10 logarithm |
.@negative | Negate the value |
.@radians | Convert degrees to radians |
.@round | Round to nearest integer |
.@sign | Sign of value (-1, 0, or 1) |
.@sin | Sine (input in radians) |
.@sqrt | Square root |
.@tan | Tangent (input in radians) |
.@trunc | Truncate to integer |
Operand (.@add(number), .@sub(number), .@mul(number), and more)
| Function | Description |
|---|---|
.@add(number) | Add a number |
.@sub(number) | Subtract a number |
.@mul(number) | Multiply by a number |
.@div(number) | Divide by a number |
Vector (.@norm)
| Function | Description |
|---|---|
.@norm | Euclidean norm (magnitude) of a vector object or numeric array |
Struct (.@rpy, .@quat, .@ypr, and more)
| Function | Description |
|---|---|
.@rpy | Convert quaternion to roll/pitch/yaw (radians) |
.@quat | Convert roll/pitch/yaw to quaternion |
.@ypr | Convert quaternion to yaw/pitch/roll (radians, ZYX order) |
.@yrp | Convert quaternion to yaw/roll/pitch (radians, ZXY order) |
Not supported in this panel: Time-series functions (.@delta, .@derivative, .@integral, .@timedelta). See the Plot panel for time-series modifiers (timestamp x-axis).
Dynamic series
You can visualize multiple state series from a single expression using dynamic series. This is useful when your message contains an array of state objects, such as tracking faults or statuses for multiple sensors or subsystems.
Each array element supplies a label (the sub-series name) and a value (the state to display). By default the panel reads label and value on each object. Use Label field and Value field in the series settings when your message uses different field names.
Example message with the default field names:
{
  "states": [
    { "label": "sensor_1", "value": "ok" },
    { "label": "sensor_2", "value": "warning" },
    { "label": "sensor_3", "value": "error" }
  ]
}
Each object requires:
- A label field (string, number, boolean, or bigint): A user-facing identifier for the sub-series (e.g., sensor ID or component name). Configure the field name with Label field (default:
label). If the same label appears more than once in the array, only the last occurrence is processed for that sub-series. If a label is missing from a subsequent message, a gap is rendered for that sub-series at that timestamp. - A value field (string, number, or boolean): The state value to display. Configure the field name with Value field (default:
value).
Label field and Value field appear directly below Expression when the path targets an array of objects — either with a slice operator or as a slice-less array-of-objects field. Leave either field empty to use the default.
Point the expression at an array-of-objects field to enable dynamic series. A slice operator is optional when the field's type is known from the message schema: a slice-less path like /topic.states behaves the same as /topic.states[:]. (For schemaless data, add an explicit [:].) Use a slice to narrow the array — a range like [1:5] or [2:] limits the dynamic series to a sub-range, and a single index like [4] targets a single element:
/topic.states
The panel automatically detects this format and creates a separate row for each unique label from the configured label field.
You can also filter dynamic series using FoxQL. Use the actual field name from your message in the filter:
/topic.states[:]{label=="sensor_1"}
For messages that use key instead of label, set Label field to key and filter with {key=="sensor_1"}.
Expanding an array by index
When an expression resolves to a plain array of primitive values — numbers, strings, or booleans — rather than an array of label/value objects, you can render one row per array element. Set Array expansion to By index on the series. Each row is labeled by its source index (0, 1, 2, …) — the same result as manually adding /topic.states[0], /topic.states[1], and /topic.states[2] as separate series, but from a single series configuration.
Unlike the label-based dynamic series above, expansion by index is opt-in and never automatic: primitive arrays are ambiguous, and leaving the setting at None preserves each expression's existing behavior, so saved layouts are unaffected. Arrays of label/value objects are always grouped by label regardless of this setting.
Expansion by index applies to a value expression that either names a primitive-array field directly (/topic.states) or ends in a multi-value slice with a non-negative start ([:], [2:], [1:5], …); a sliced range labels its rows by source index, so [1:5] produces rows 1 through 5. Expressions with any FoxQL function, variable slice bounds ([$start:$end]), single-index slices ([4]), negative-start slices ([-3:]), and slices followed by further field access (arr[:].field) fall back to the single-row behavior.
The slice-less shortcut (/topic.states) needs a known message schema to confirm the field is a primitive array. For schemaless data, add an explicit [:] slice (/topic.states[:]) to enable expansion by index. Expansion by index is capped at 100 rows per series; beyond that, extra indices are dropped and a warning is shown on the series.
Labels and colors
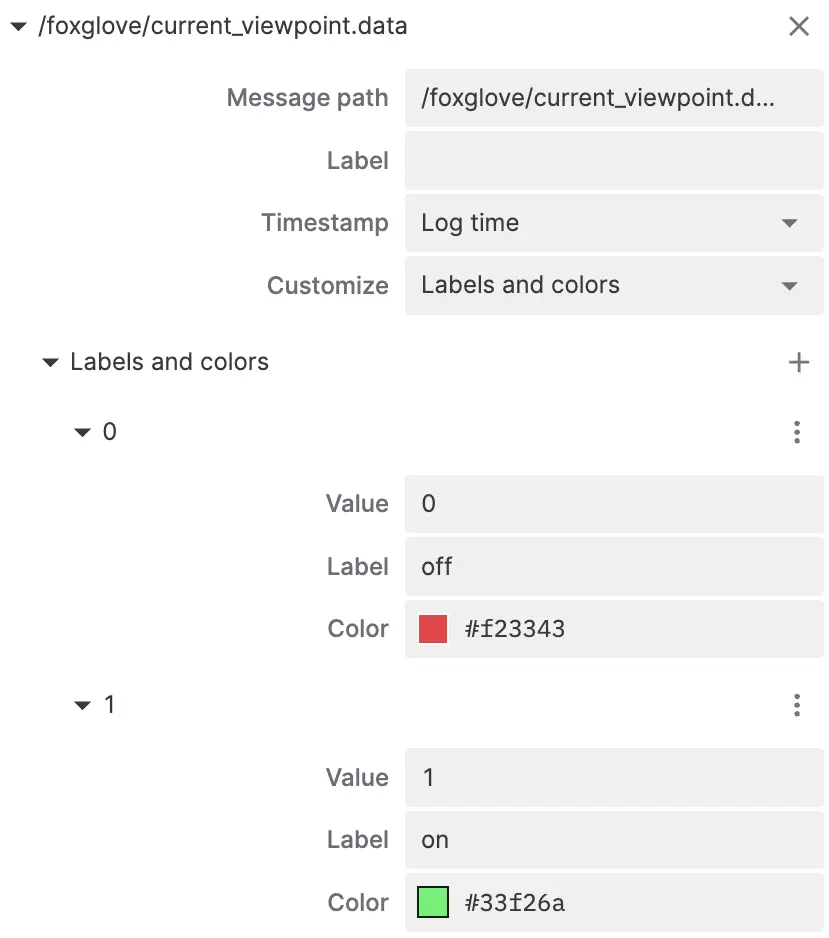
These options are visible when Customize is set to Labels and colors. Use these options to override the colors and labels of existing states in your data. To reorder entries in the list, drag a state to a new position or use the row actions menu.
| field | description |
|---|---|
| Value | When this value matches a state in your data, the overrides below are applied |
| Label | Override for state text label |
| Color | Override for state color |
Continuous value indicators
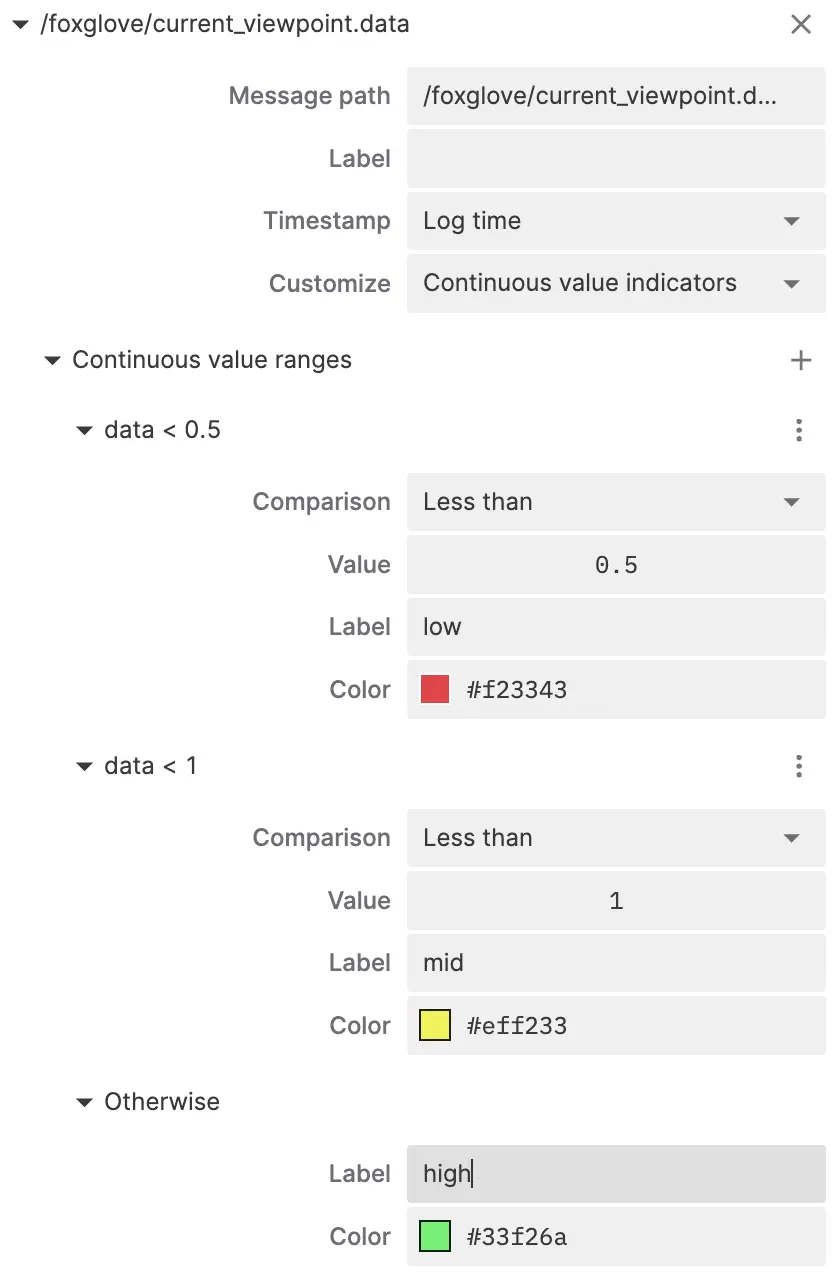
These options are visible when Customize is set to Continuous value indicators. The section lists all range rules in order of precedence, and also includes a fallback Otherwise state. To change precedence, drag a range rule to a new position or use the row actions menu.
| field | description |
|---|---|
| Comparison | Operator used to determine if the continuous value matches the range |
| Value | Reference value used for comparison |
| Label | Text label to be displayed when a value is in this range |
| Color | Color to be displayed when a value is in this range |
Controls and shortcuts
Pan and zoom
To pan, click and drag using the mouse or trackpad.
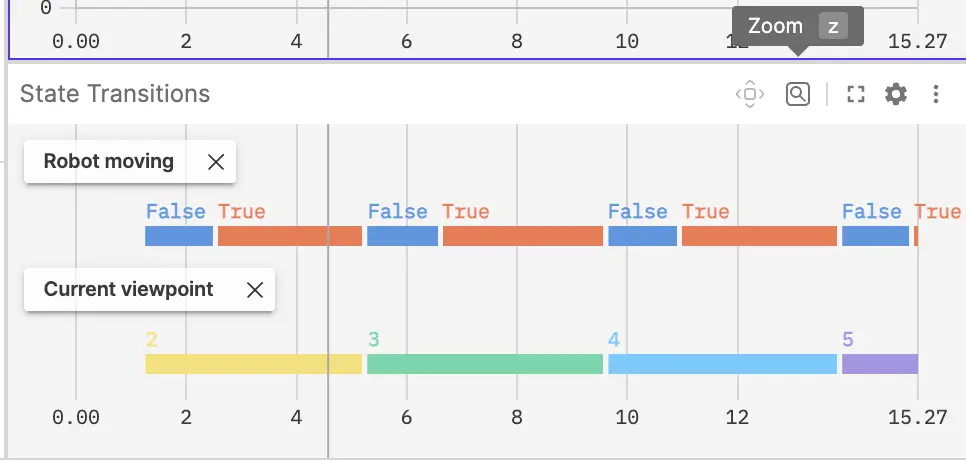
To zoom, scroll using the mouse wheel or trackpad. Alternatively, enable the Zoom tool by clicking the button in the toolbar or pressing z on your keyboard:
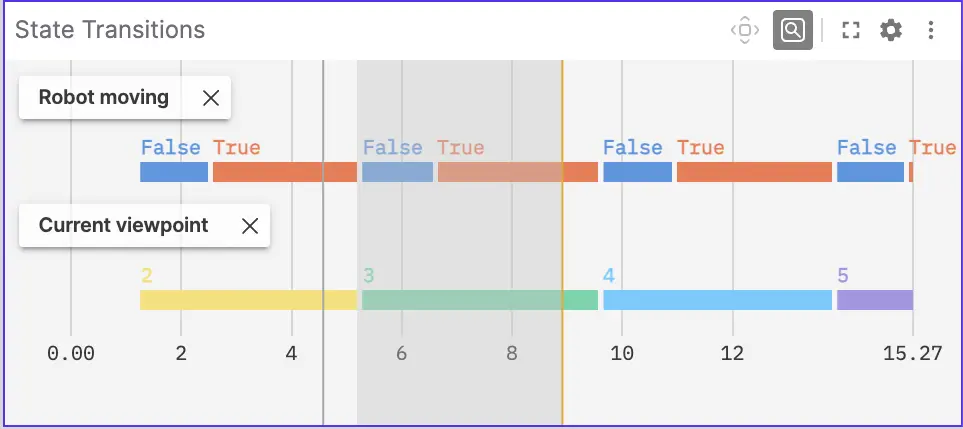
With the Zoom tool on, click and drag to select an area:
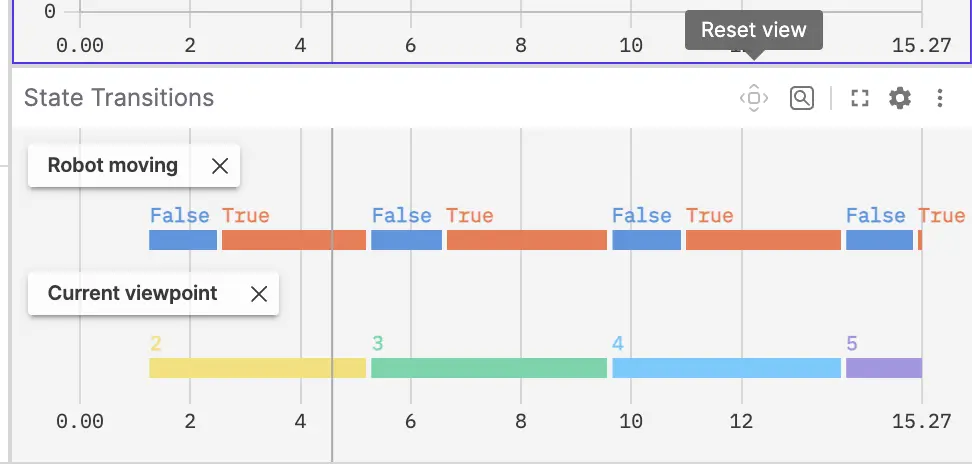
Click the Reset view button in the panel toolbar, press r (when the panel is selected), or double-click the panel to reset to the original viewport, as defined by your panel's range settings:
Toggle series labels
Each series row shows its label above the state bars. Click the series labels button in the panel toolbar to hide or show them, or use the Show series labels setting under General. Hiding the labels allows roughly twice as many series to fit in the same panel height.
Scroll vertically
Sometimes not all series fit in the viewport. To scroll vertically, you can:
- Press
Shiftwhile scrolling anywhere in the panel - Scroll over the scrollbar
- Drag the scrollbar
Click-to-seek
Hover over any point on the state transition chart to see state details at the time in a tooltip. You'll see a vertical yellow bar appear, as well as a corresponding yellow marker at the same time on the playback timeline. Click to seek playback to the yellow marker on the timeline.
Only available for recorded data.
Comparison mode
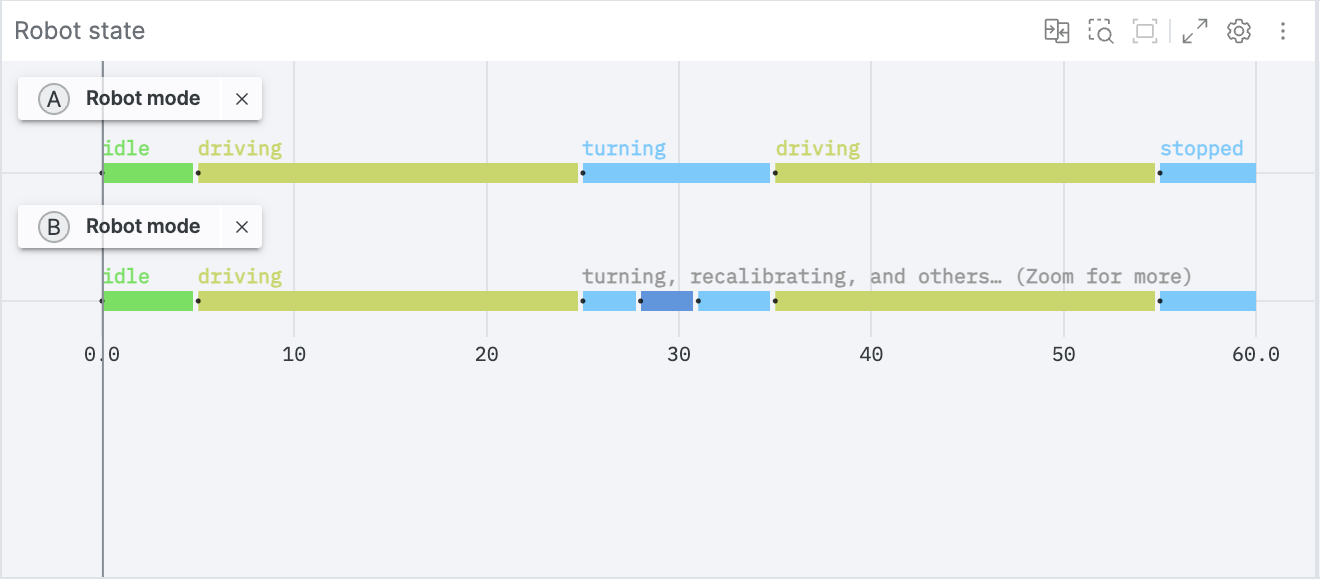
In Comparison mode, State Transitions renders rows for every source. Each row includes a slot badge (A, B, C, …). To focus on a single slot, use the Data sources picker in the panel toolbar.