Getting Started with the SO-101 Robot Arm
The SO-101 is a 3D-printed 6-DOF robot arm developed by the Robot Studio and Hugging Face. The fastest way to visualize it in Foxglove is LeRobot's native integration; pass --display_mode=foxglove to stream live data with no custom code.
For the full LeRobot guide (dataset replay, recording, and advanced options), see Visualize LeRobot with Foxglove.
Step 1: Install LeRobot
LeRobot requires Python 3.12+. Use uv to set up a virtual environment:
uv venv --python 3.12
source .venv/bin/activate
uv pip install 'lerobot[feetech,dataset_viz]'
See the LeRobot installation guide for system dependencies. Complete hardware setup and calibration following the SO-101 guide before continuing.
Step 2: Stream live data
With your follower and leader arms connected, start teleoperation with Foxglove visualization enabled:
uv run lerobot-teleoperate \
  --robot.type=so101_follower \
  --robot.port=/dev/ttyUSB0 \
  --robot.id=my_follower \
  --robot.cameras="{ front: {type: opencv, index_or_path: 0, width: 640, height: 480, fps: 30}}" \
  --teleop.type=so101_leader \
  --teleop.port=/dev/ttyUSB1 \
  --teleop.id=my_leader \
  --display_data=true \
  --display_mode=foxglove
Replace /dev/ttyUSB0 and /dev/ttyUSB1 with your actual ports (lerobot-find-port). Adjust camera IDs using lerobot-find-cameras opencv.
Move the leader arm — joint positions appear on /observation/state and /action/state, and camera frames stream to /observation/images/front.
Step 3: Connect Foxglove
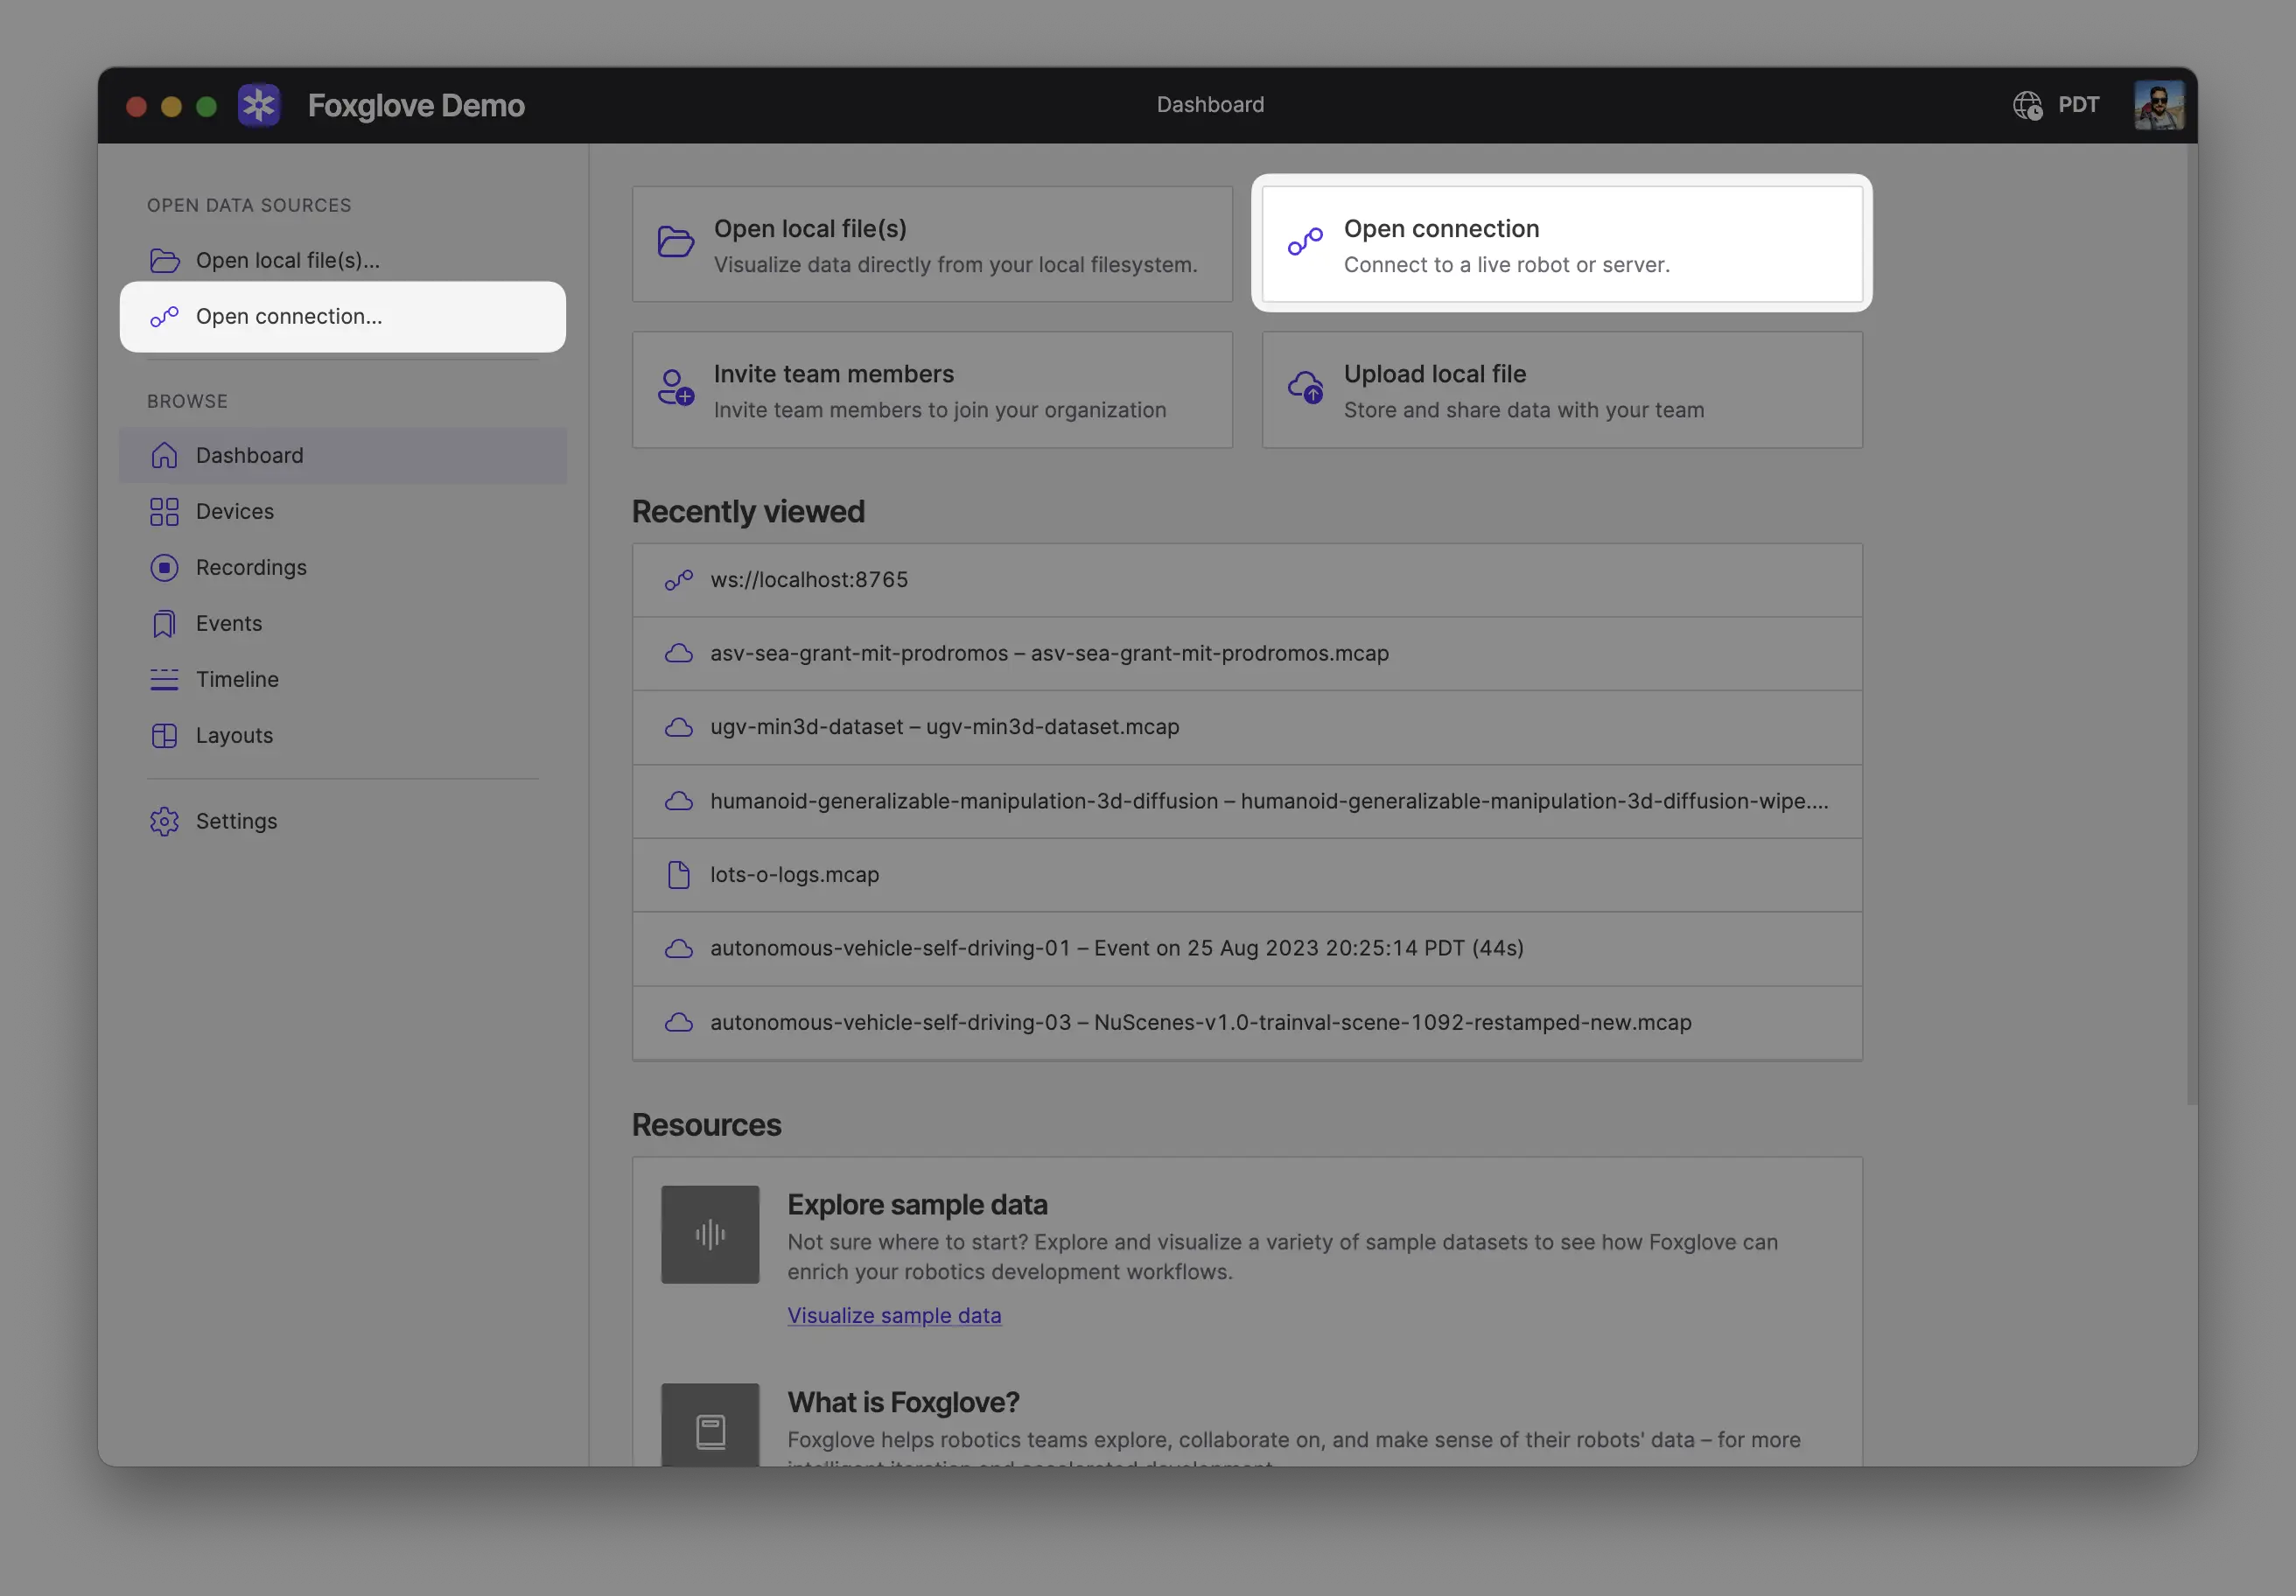
Make sure you are on the same network as your robot. In Foxglove, select Open connection from the dashboard or left-hand menu.
Select Foxglove WebSocket in the Open a new connection dialog, then enter the URL of the server:
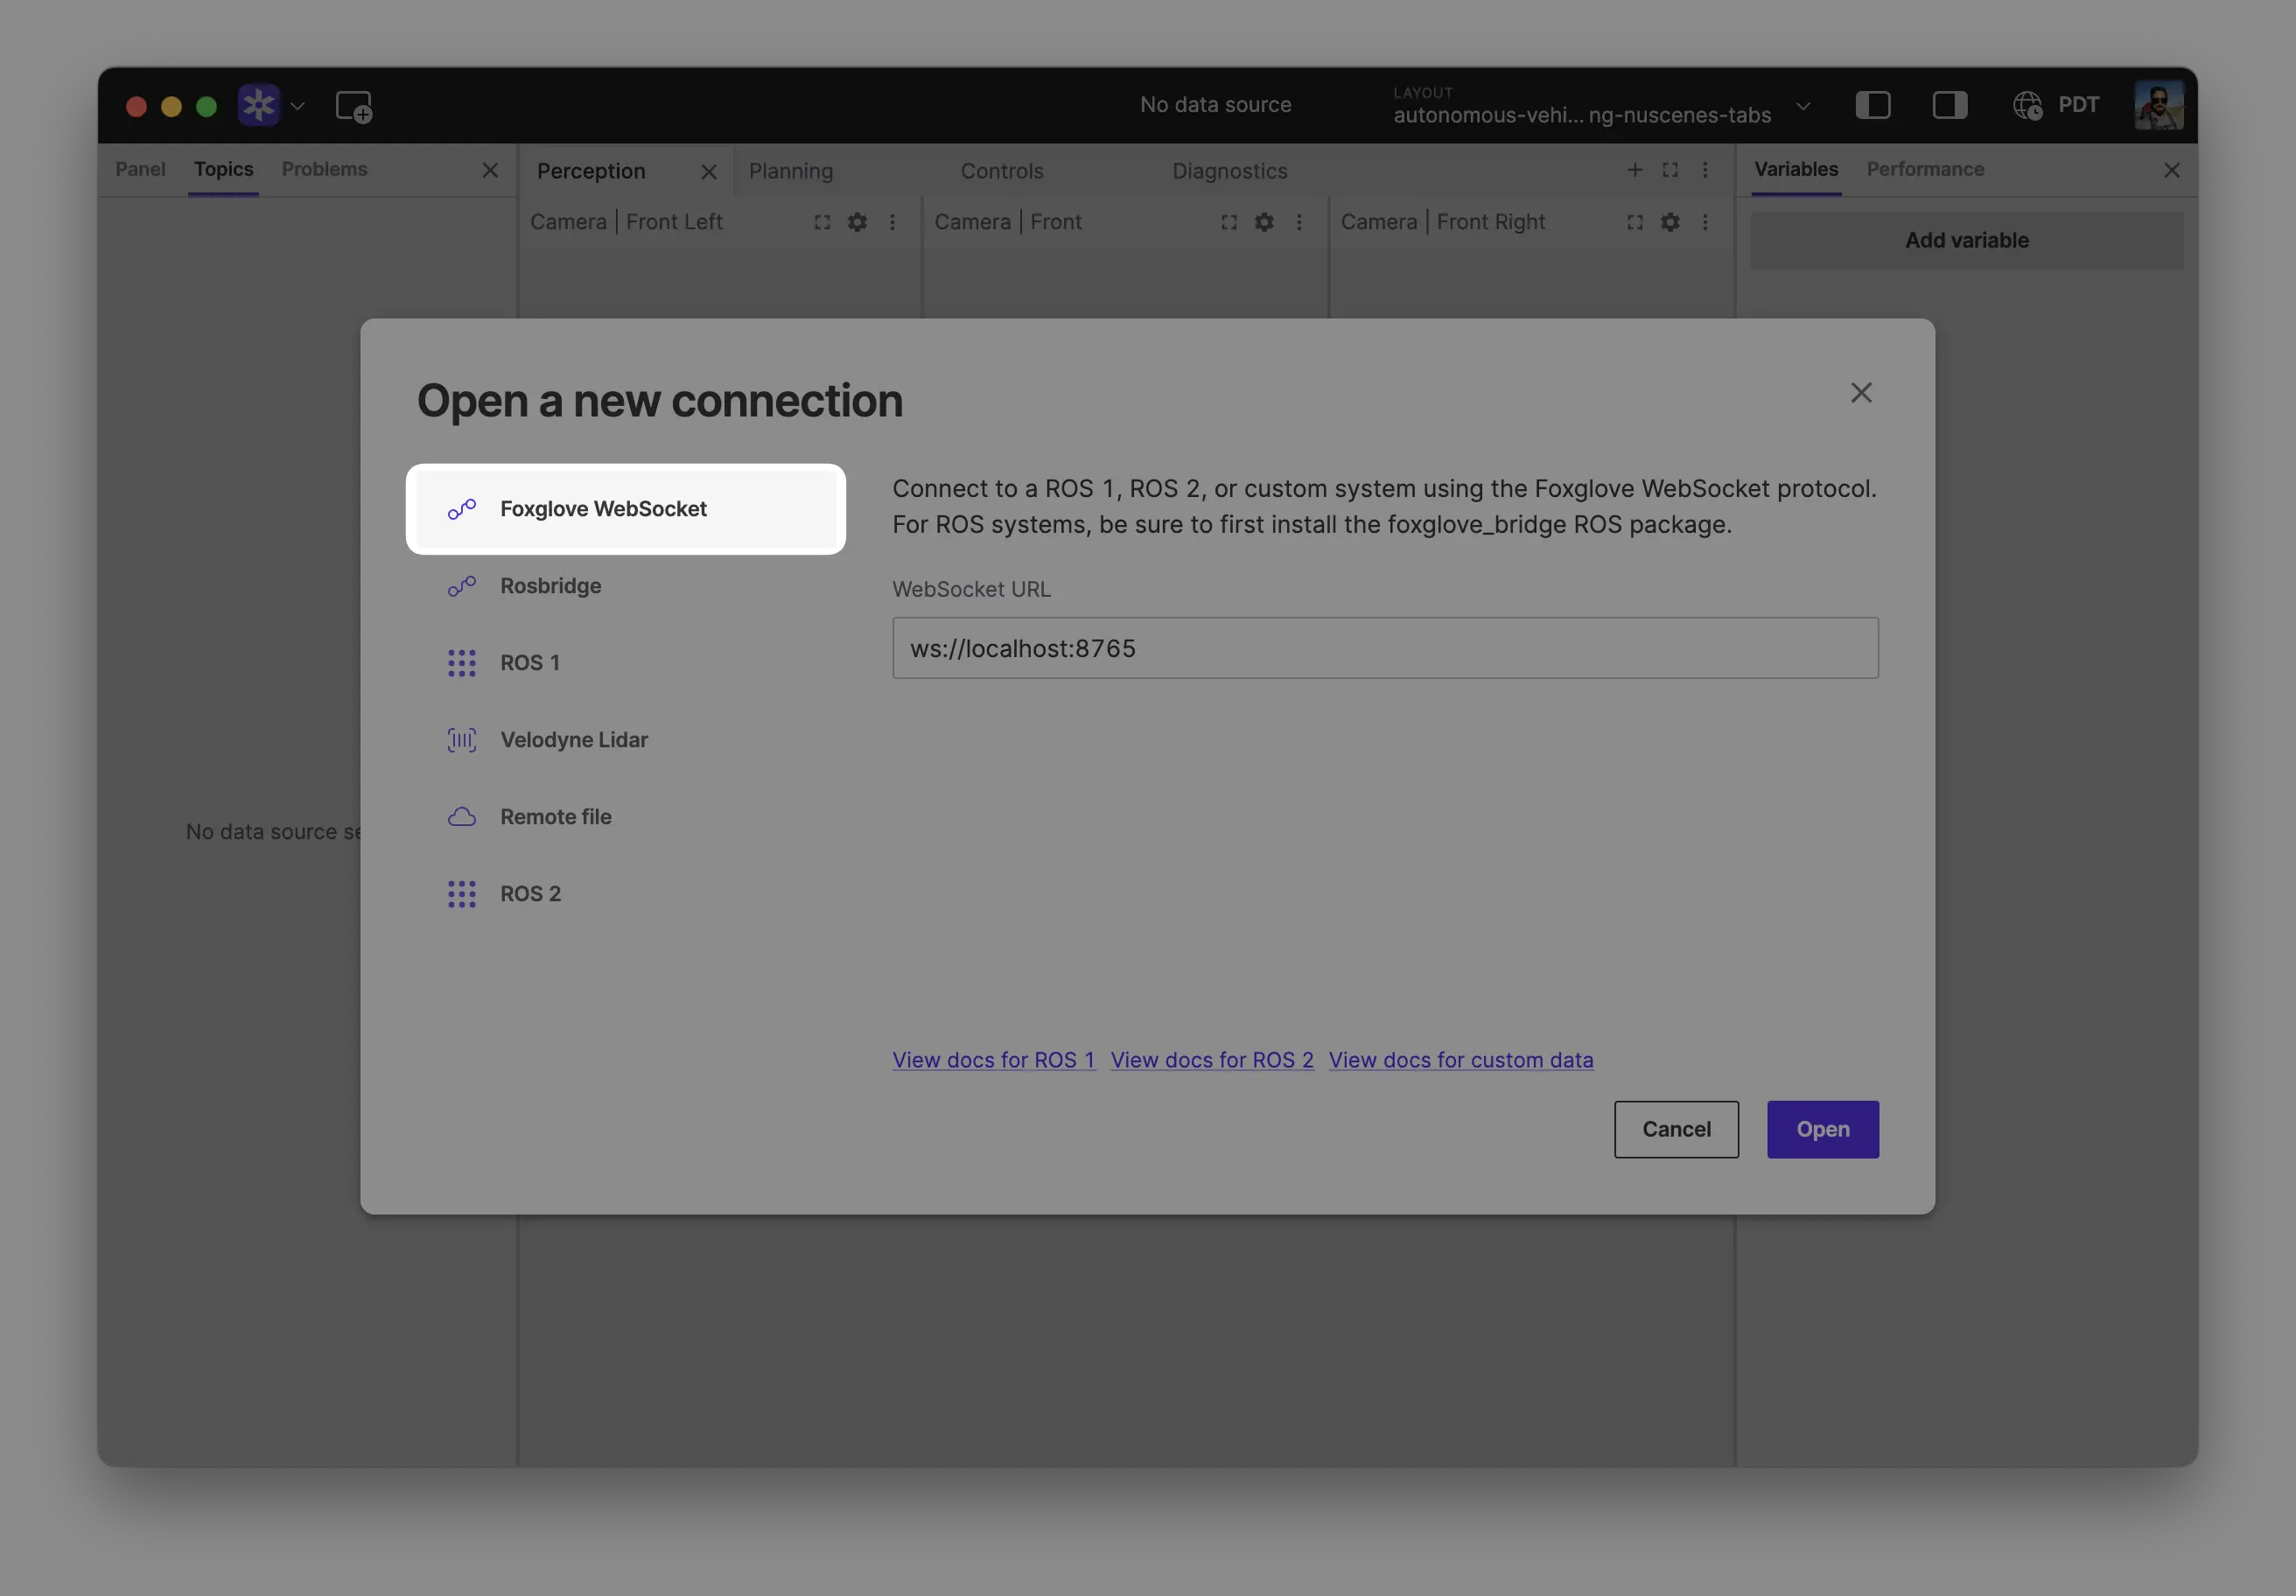
Click "Open" to connect.
Local development: Use ws://localhost:8765 when running the server on the same machine as Foxglove.
Robot connection: Use ws://ROBOT_IP:8765 when connecting to a server running on your robot, where ROBOT_IP is your robot's IP address on the network.
Import a starter layout. In the layout dropdown in the application toolbar, select Import from file..., and open lerobot_layout.json from the Foxglove SDK examples.
You should now see your robot's data streaming live!
Step 4: Record and replay datasets
Add the same visualization flags when collecting demonstrations:
uv run lerobot-record \
  --robot.type=so101_follower \
  --robot.port=/dev/ttyUSB0 \
  --robot.id=my_follower \
  --robot.cameras="{ front: {type: opencv, index_or_path: 0, width: 640, height: 480, fps: 30}}" \
  --teleop.type=so101_leader \
  --teleop.port=/dev/ttyUSB1 \
  --teleop.id=my_leader \
  --dataset.repo_id=${HF_USER}/my-dataset \
  --dataset.num_episodes=5 \
  --dataset.single_task="Pick up the cube" \
  --display_data=true \
  --display_mode=foxglove
Replay a recorded episode as a seekable timeline:
uv run lerobot-dataset-viz \
  --repo-id ${HF_USER}/my-dataset \
  --root ~/.cache/huggingface/lerobot/${HF_USER}/my-dataset \
  --episode-index 0 \
  --display-mode foxglove