C++
Connect directly to Foxglove or play back local data recorded with the C++ SDK.
Install the SDK
The C++ SDK is a wrapper around a C library. To build it, you will need to link that library and compile the SDK source as part of your build process. The SDK assumes C++17 or newer.
Download the library, source, and header files for your platform from the SDK release assets. The SDK release ships a CMake package config (under lib/cmake/foxglove-sdk/) that you wire up with find_package.
If you're using CMake, you can use the following as a starting point. For more detail, see the quickstart example.
cmake_minimum_required(VERSION 3.20)

# TODO: replace "my_program" throughout with the name of your project
project(my_program LANGUAGES CXX)

set(CMAKE_CXX_STANDARD 17)

# Fetch the Foxglove SDK release archive.
include(FetchContent)
FetchContent_Declare(
    foxglove_sdk
    DOWNLOAD_EXTRACT_TIMESTAMP TRUE
    # TODO: Copy the URL and SHA for the appropriate .zip file from here:
    # https://github.com/foxglove/foxglove-sdk/releases?q=sdk%2F&expanded=true
    URL <download URL from the GitHub release>
    URL_HASH SHA256=<sha from the GitHub release>
)
FetchContent_MakeAvailable(foxglove_sdk)

# Load the SDK's CMake package config, which defines IMPORTED targets for the
# prebuilt C libraries and the foxglove_sdk_add_cpp_library() helper.
find_package(foxglove-sdk CONFIG REQUIRED HINTS "${foxglove_sdk_SOURCE_DIR}")

# Compile the SDK's C++ wrapper sources against your toolchain and link the
# appropriate C library.
foxglove_sdk_add_cpp_library(foxglove_cpp TYPE STATIC)

# Assuming the project consists of a single source file, main.cpp.
add_executable(my_program main.cpp)
target_link_libraries(my_program PRIVATE foxglove_cpp)
Live data
Log messages from C++
#include <foxglove/foxglove.hpp>
#include <foxglove/server.hpp>

#include <chrono>
#include <csignal>
#include <iostream>
#include <thread>

using namespace std::chrono_literals;

int main(int argc, const char *argv[]) {
  foxglove::WebSocketServerOptions options;
  auto serverResult = foxglove::WebSocketServer::create(std::move(options));
  if (!serverResult.has_value()) {
    std::cerr << foxglove::strerror(serverResult.error()) << '\n';
    return 1;
  }

  auto server = std::move(serverResult.value());
  auto channel = foxglove::RawChannel::create("/hello", "json").value();
  auto start = std::chrono::steady_clock::now();

  // Log until interrupted
  static std::function<void()> sigint_handler;
  std::atomic_bool done = false;
  sigint_handler = [&] { done = true; };
  std::signal(SIGINT, [](int) {
    if (sigint_handler) {
      sigint_handler();
    }
  });

  while (!done) {
    auto dur = std::chrono::steady_clock::now() - start;
    float elapsed_seconds = std::chrono::duration<float>(dur).count();
    std::string msg = "{\"elapsed\": " + std::to_string(elapsed_seconds) + "}";
    channel.log(reinterpret_cast<const std::byte *>(msg.data()), msg.size());

    std::this_thread::sleep_for(33ms);
  }

  return 0;
}
Run the example
If you're using something like the CMake configuration above, you can create a build directory and run the following.
cd build
cmake ..
cmake --build .
./my_program
Connect
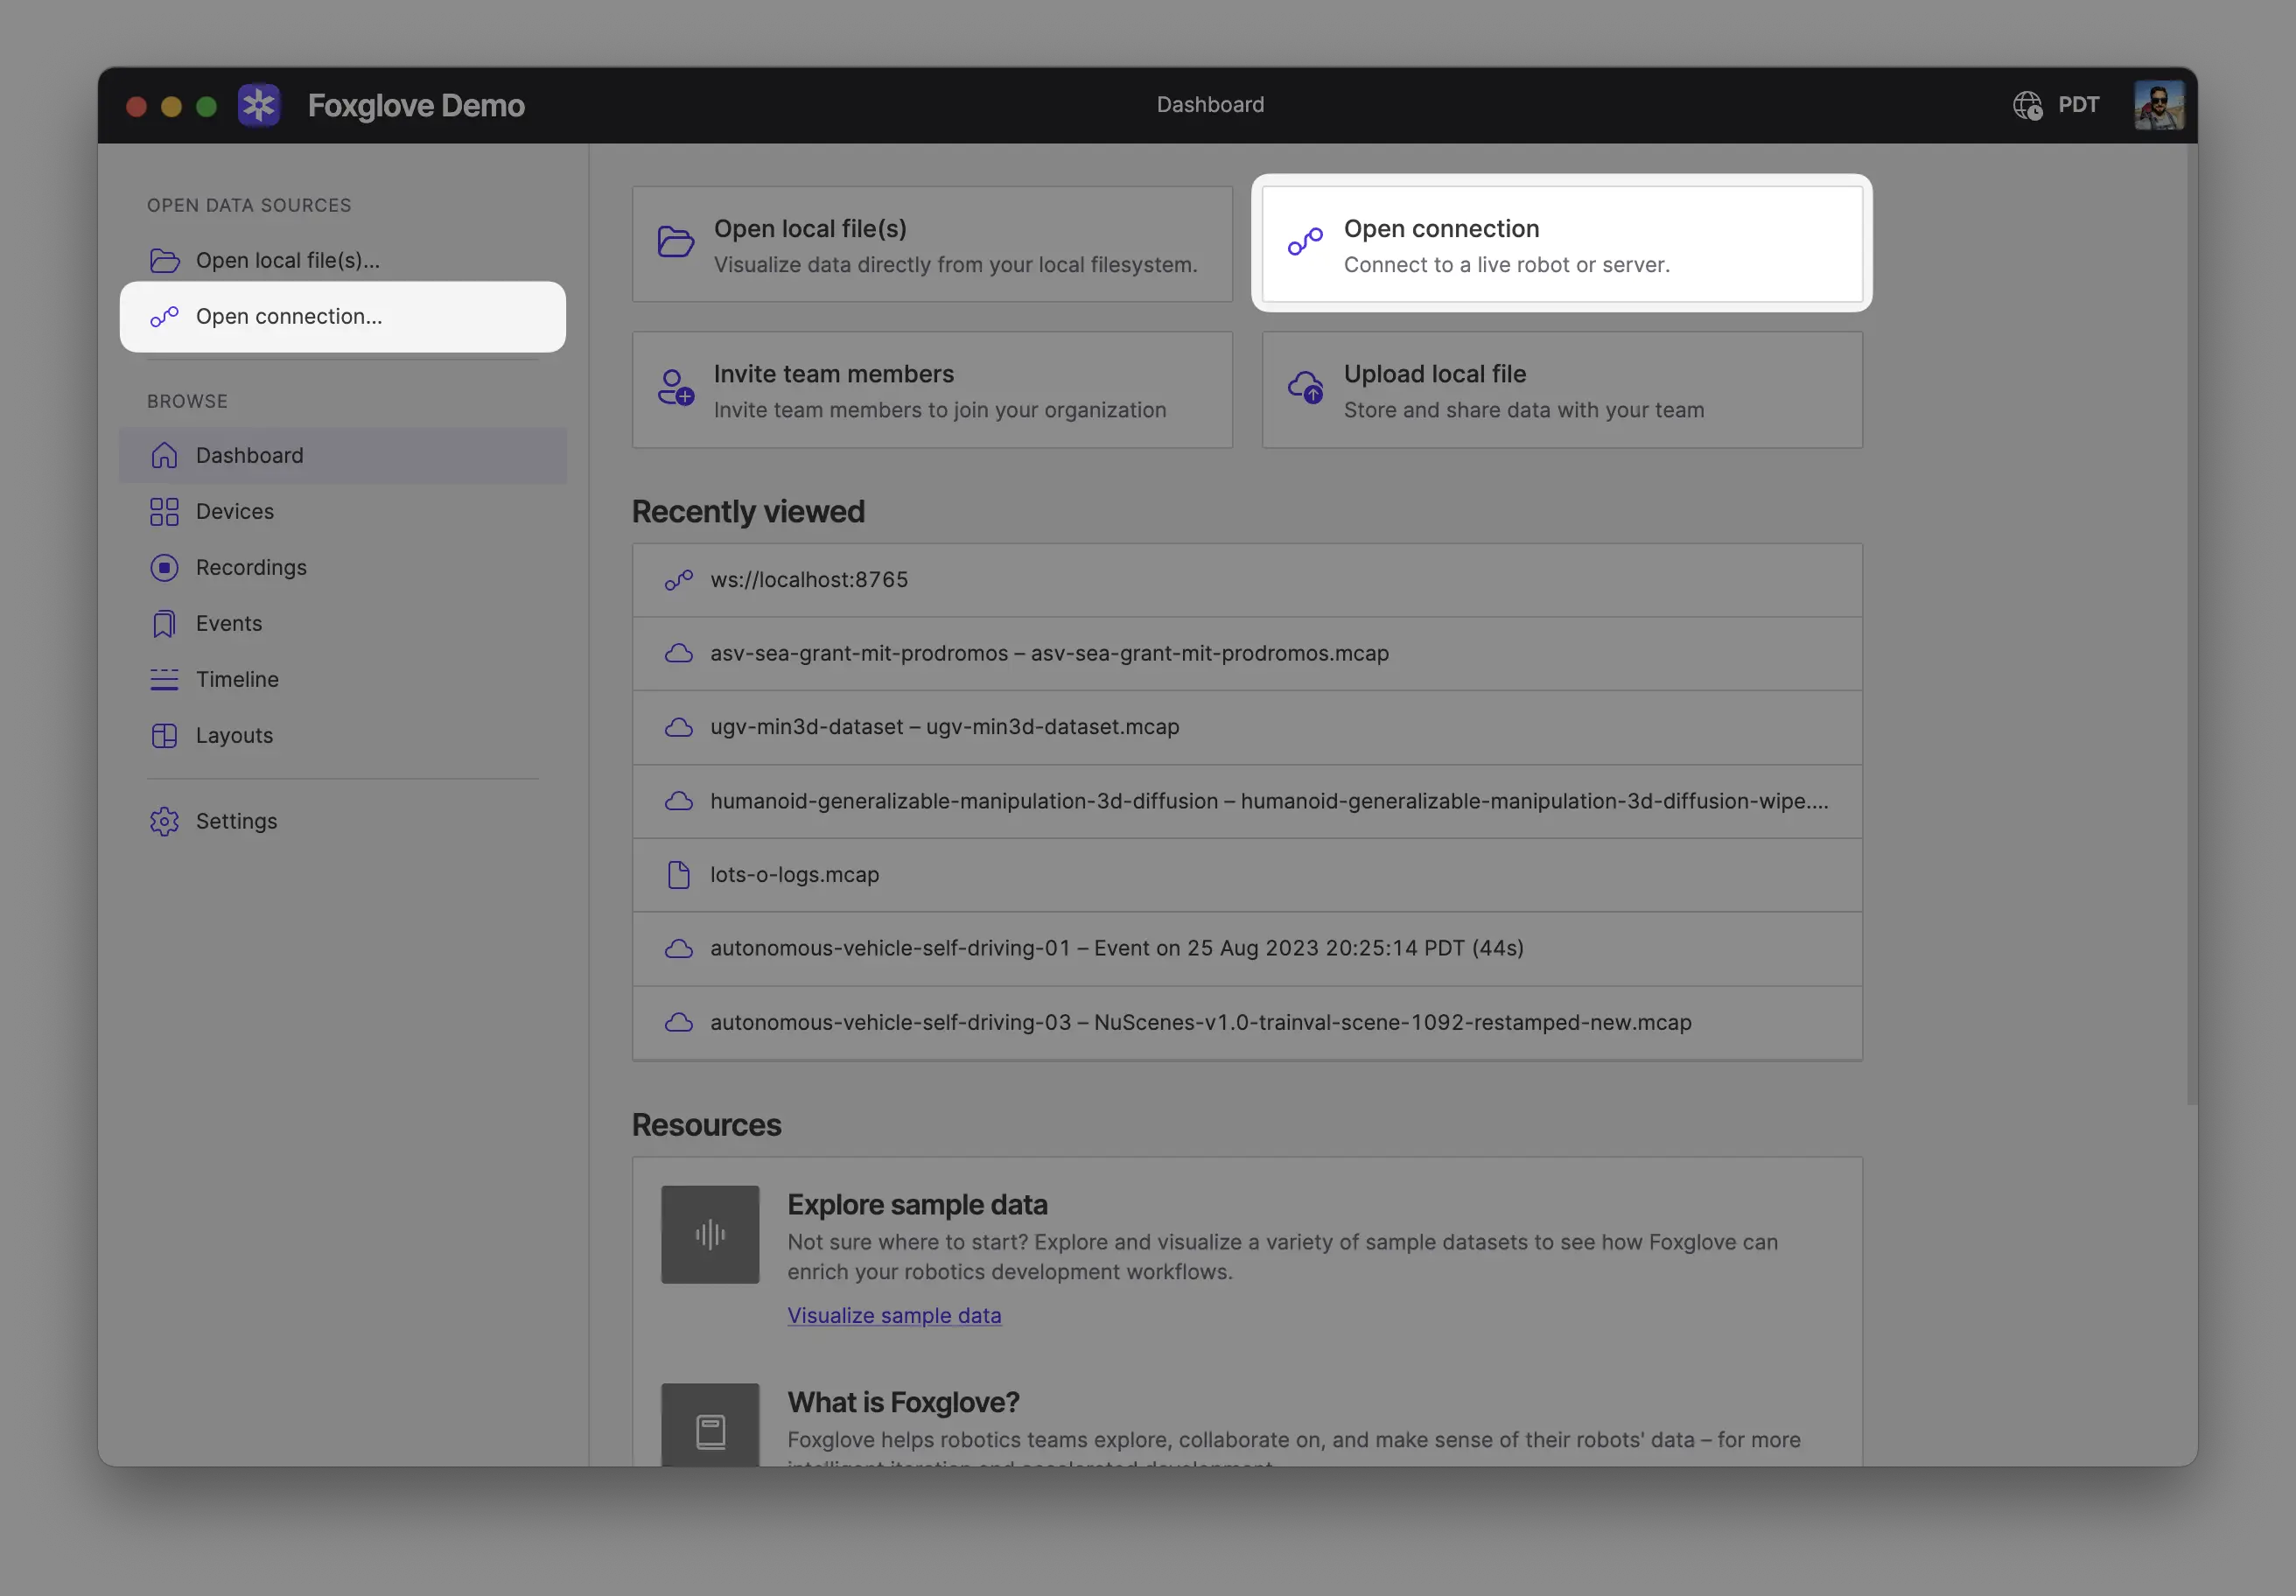
In Foxglove, select "Open connection" from the dashboard or left-hand menu.
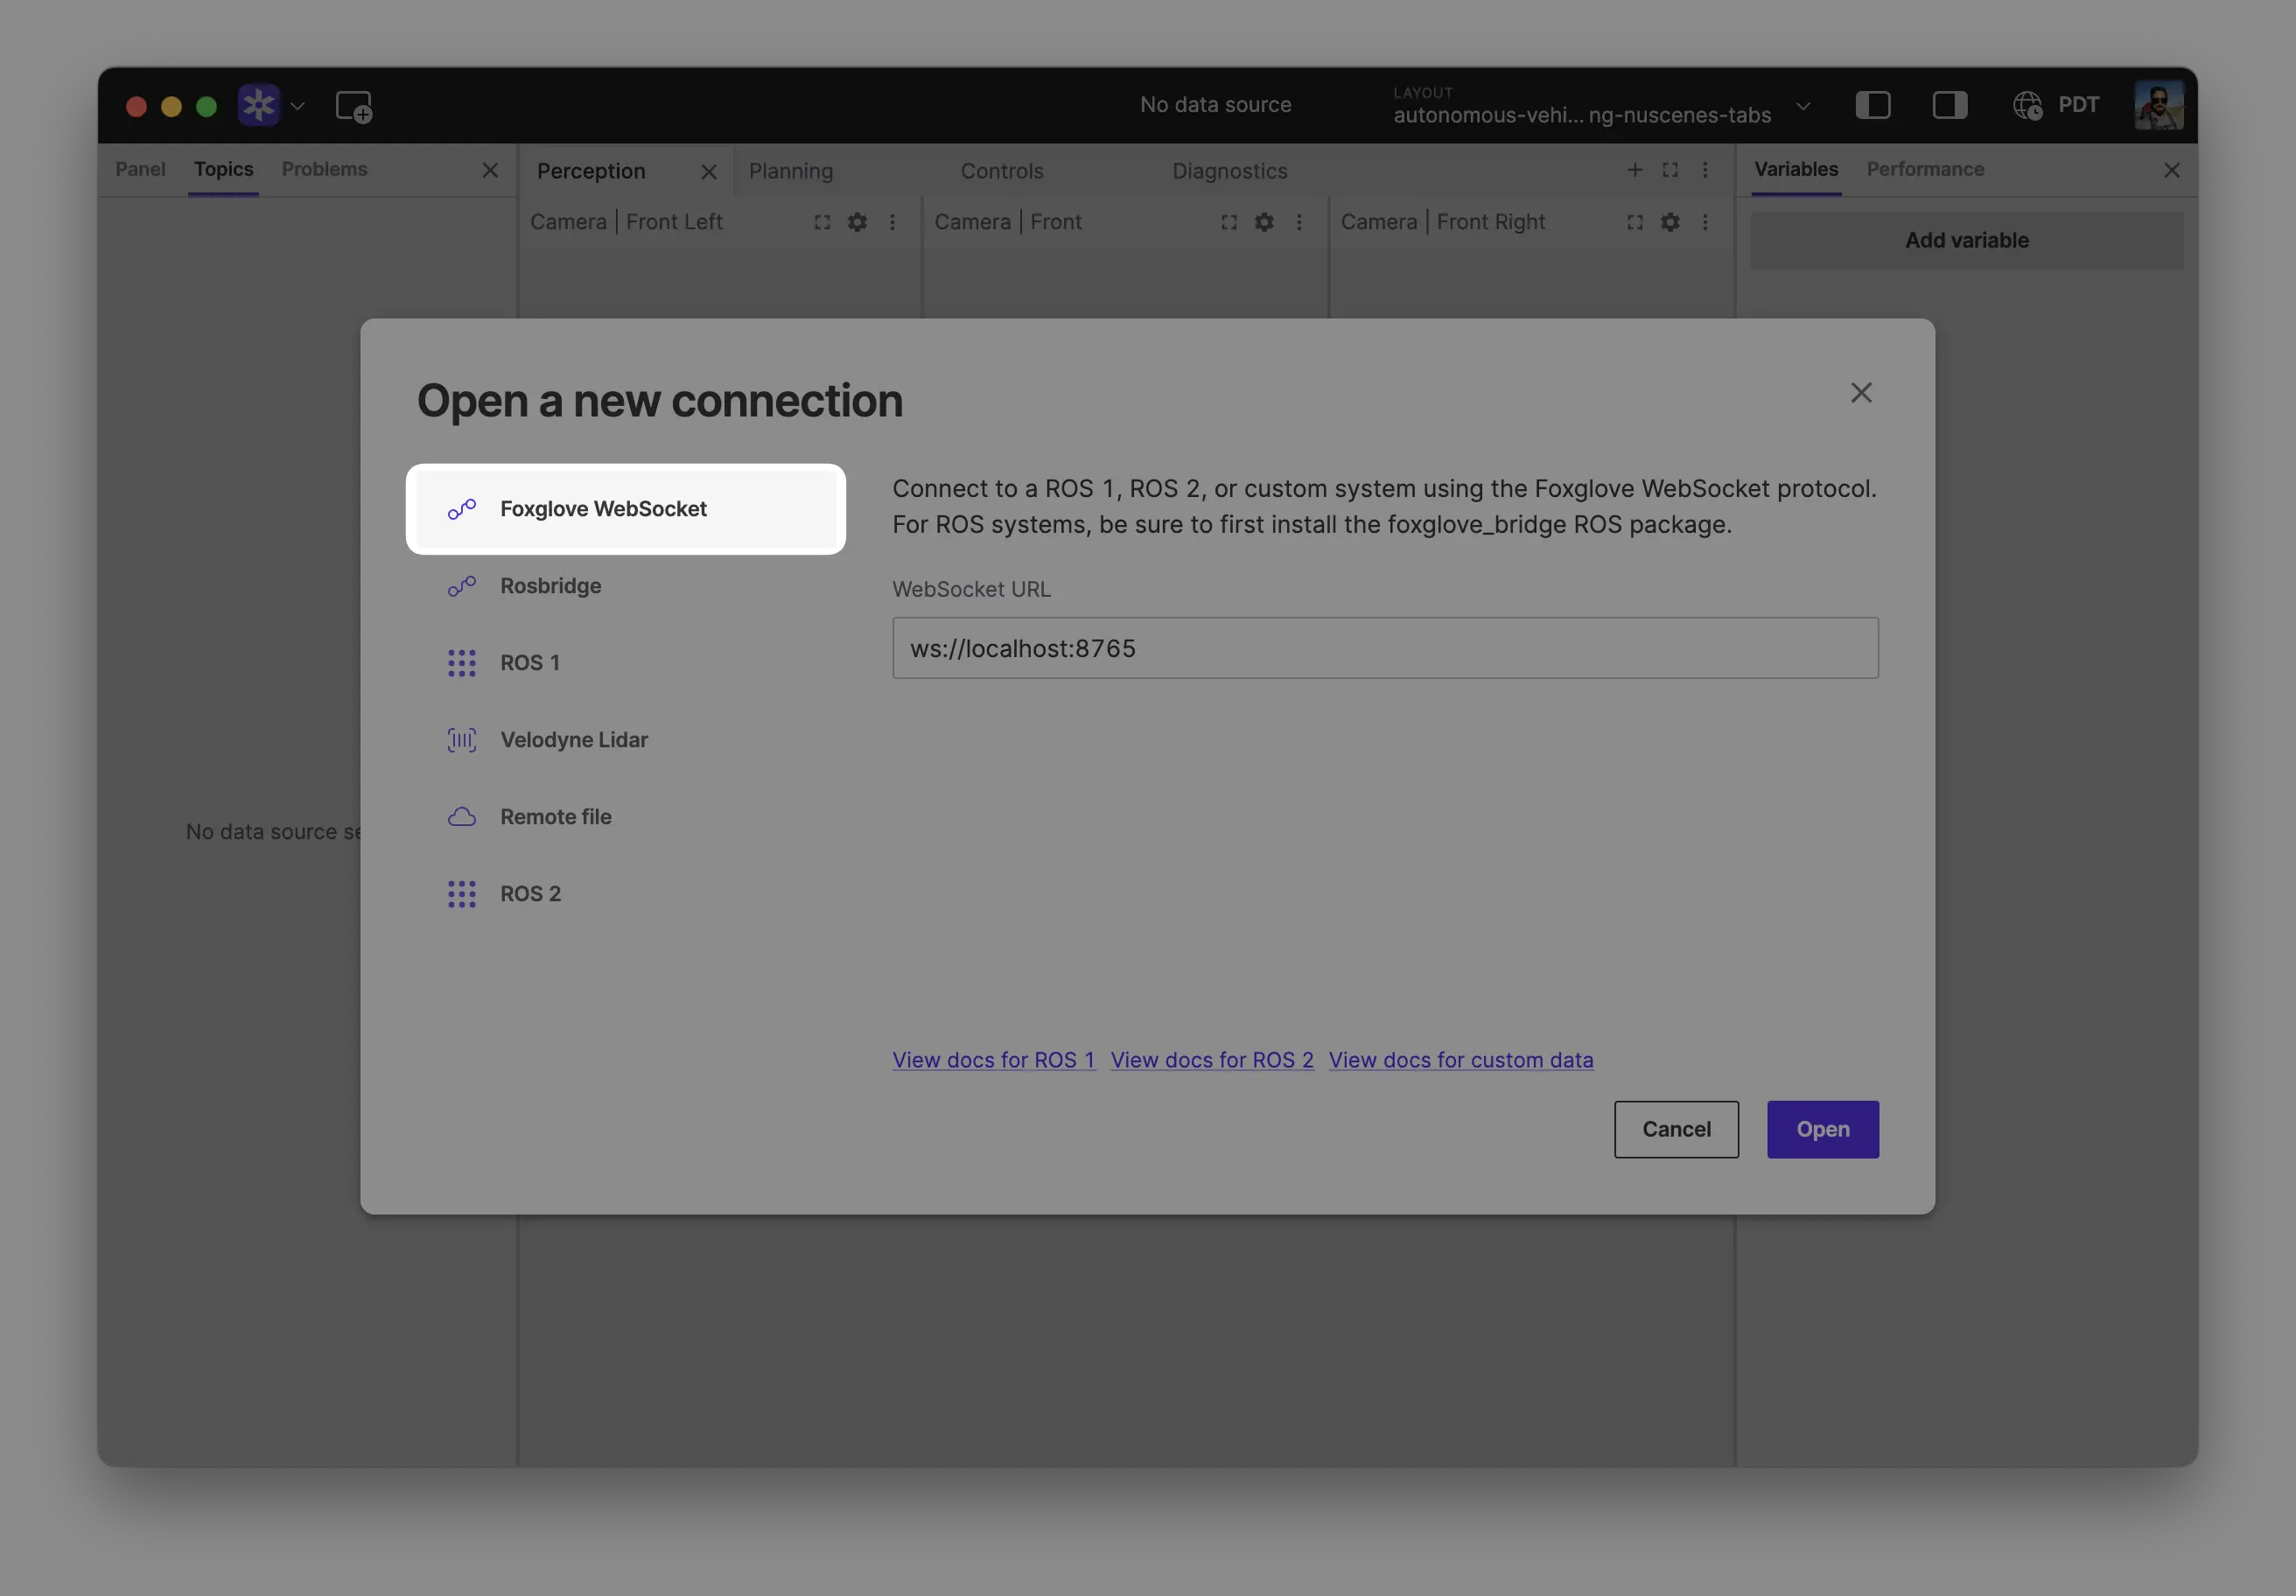
Select "Foxglove WebSocket" in the "Open a new connection" dialog, then click "Open" to accept the default connection string:
Local data
Recording data to a file
The SDK can also log data to disk. Let's augment the example above to also produce an MCAP file which can later be opened in Foxglove:
#include <foxglove/foxglove.hpp>
#include <foxglove/mcap.hpp>
#include <foxglove/server.hpp>

#include <chrono>
#include <csignal>
#include <iostream>
#include <thread>

using namespace std::chrono_literals;

int main(int argc, const char *argv[]) {
  foxglove::WebSocketServerOptions options;
  auto serverResult = foxglove::WebSocketServer::create(std::move(options));
  if (!serverResult.has_value()) {
    std::cerr << foxglove::strerror(serverResult.error()) << '\n';
    return 1;
  }

  auto server = std::move(serverResult.value());
  auto channel = foxglove::RawChannel::create("/hello", "json").value();
  auto start = std::chrono::steady_clock::now();

  foxglove::McapWriterOptions mcap_options;
  mcap_options.path = "example.mcap";
  auto writerResult = foxglove::McapWriter::create(mcap_options);
  if (!writerResult.has_value()) {
    std::cerr << foxglove::strerror(writerResult.error()) << '\n';
    return 1;
  }
  // Keep a reference to the writer. It will be closed when the writer is
  // destroyed, or we could call `.close()` to close it manually.
  auto writer = std::move(writerResult.value());

  // Log until interrupted
  static std::function<void()> sigint_handler;
  std::atomic_bool done = false;
  sigint_handler = [&] { done = true; };
  std::signal(SIGINT, [](int) {
    if (sigint_handler) {
      sigint_handler();
    }
  });

  while (!done) {
    auto dur = std::chrono::steady_clock::now() - start;
    float elapsed_seconds = std::chrono::duration<float>(dur).count();
    std::string msg = "{\"elapsed\": " + std::to_string(elapsed_seconds) + "}";
    channel.log(reinterpret_cast<const std::byte *>(msg.data()), msg.size());

    std::this_thread::sleep_for(33ms);
  }

  return 0;
}
Viewing data from a file
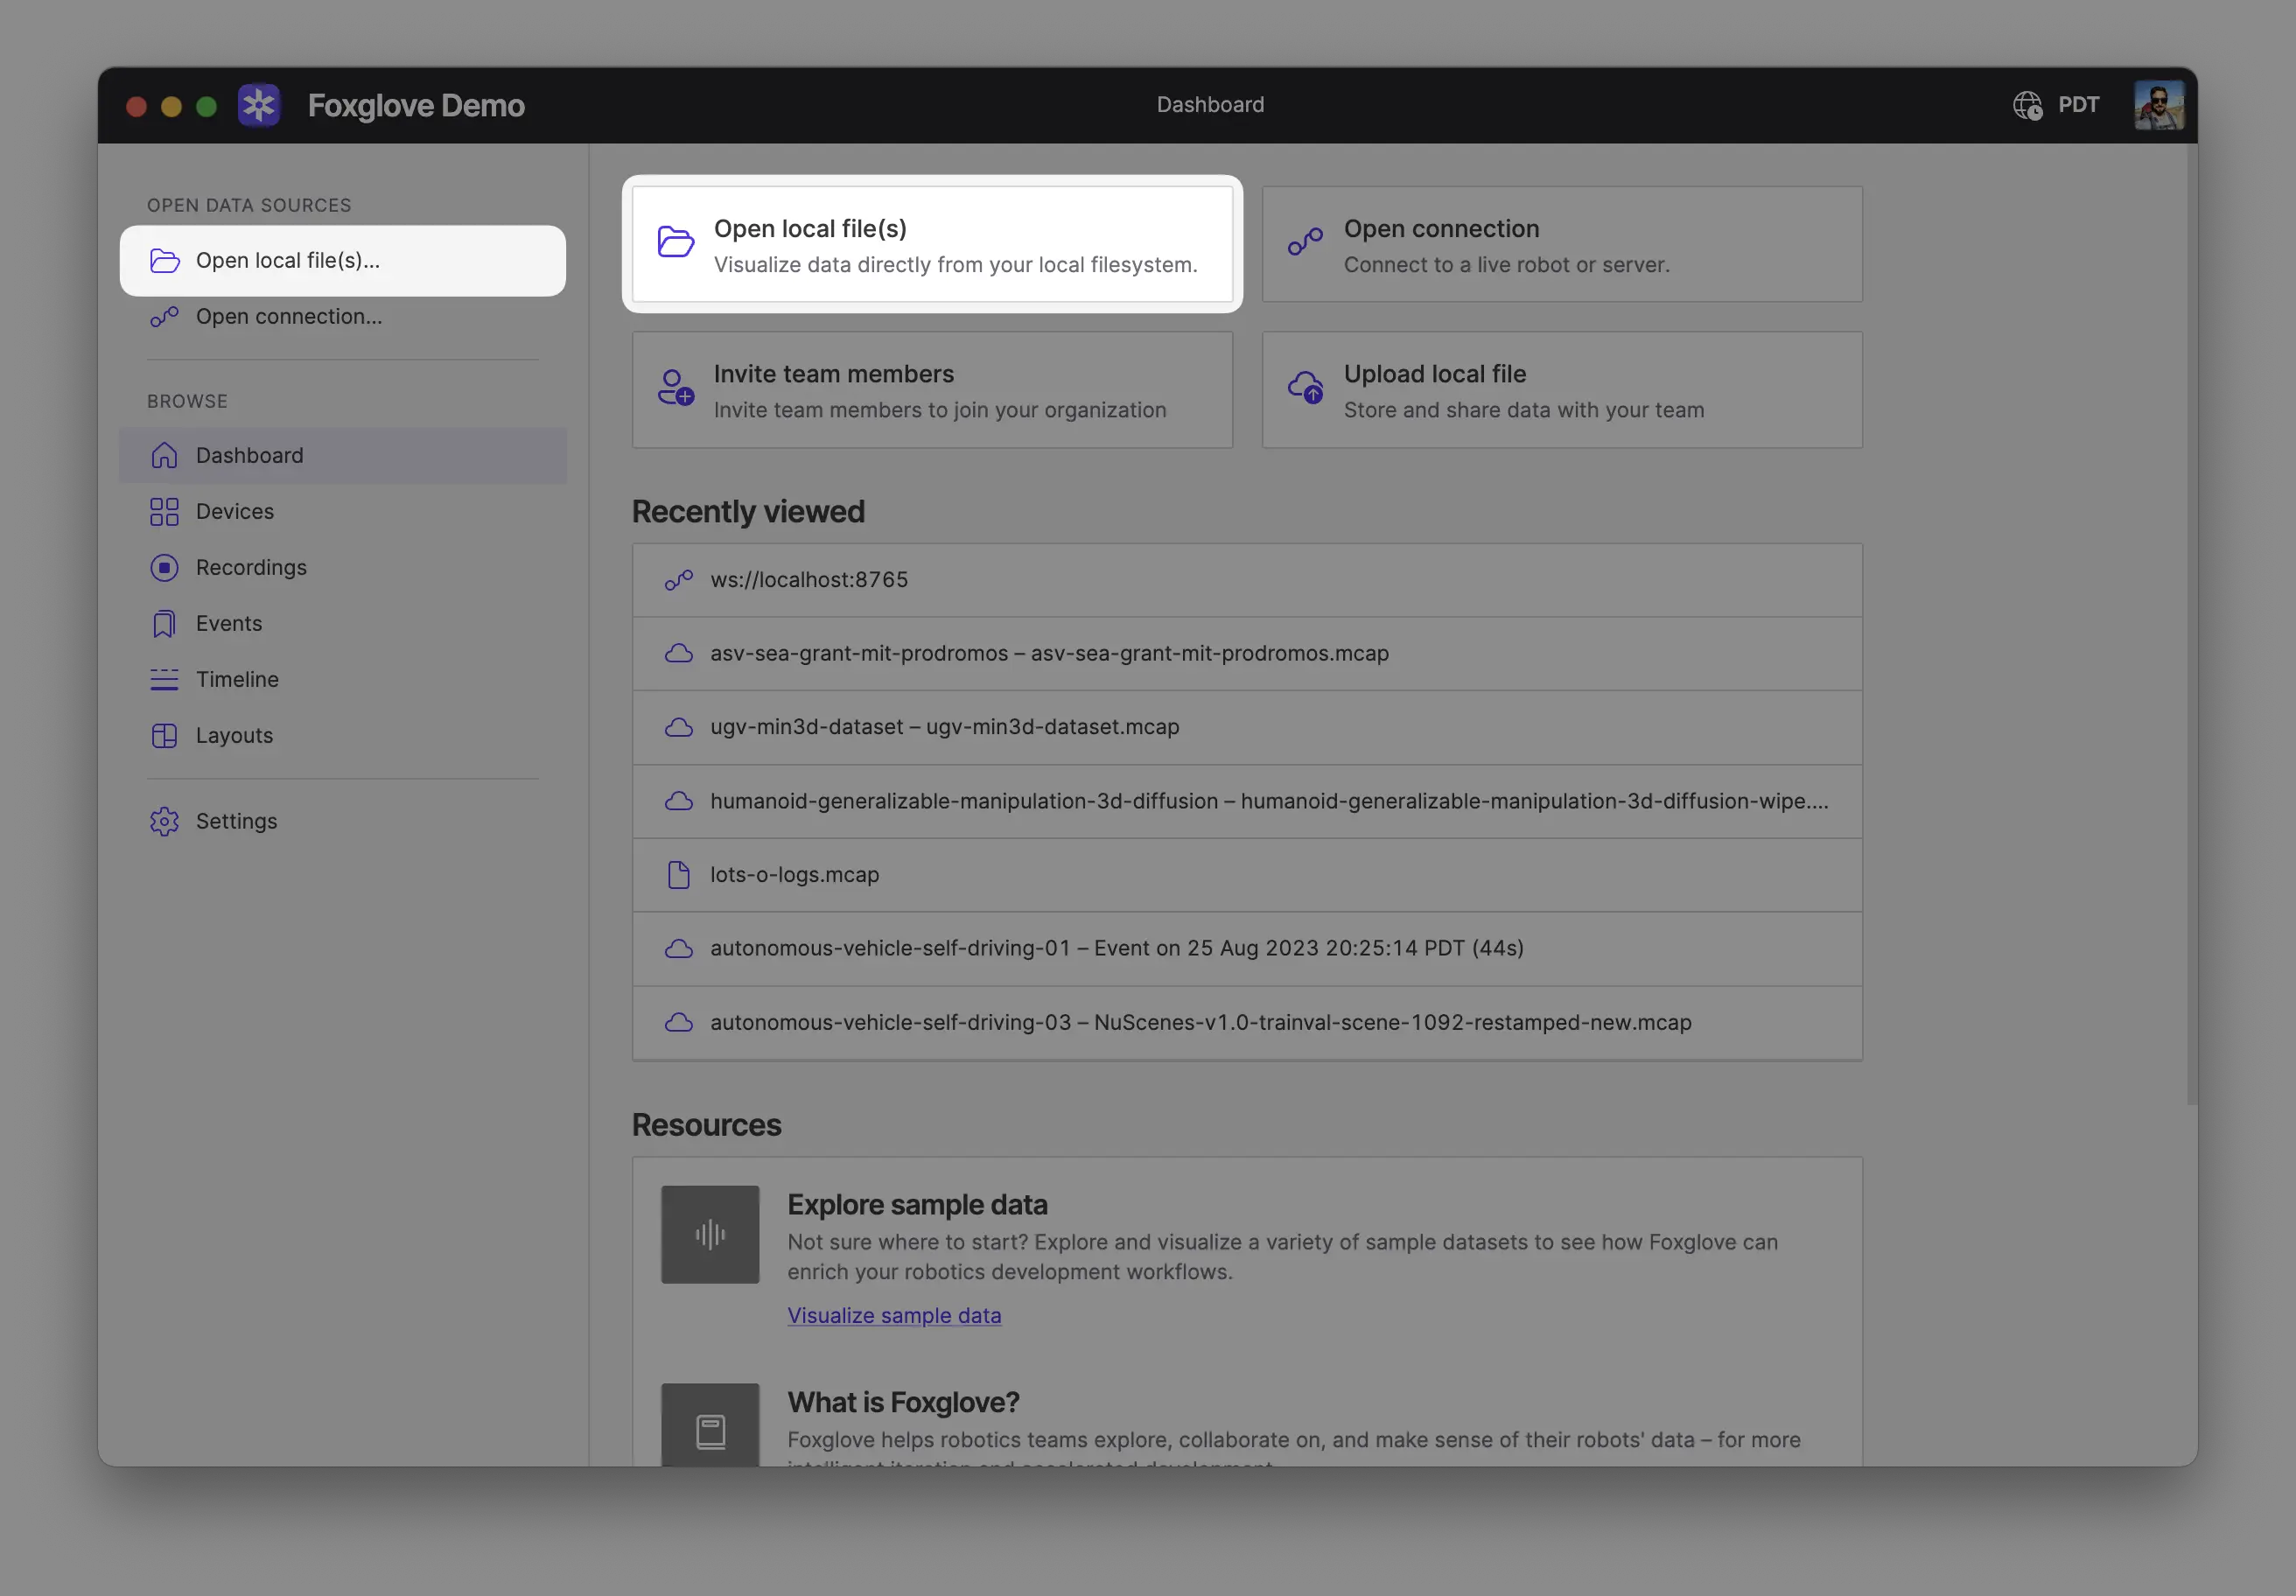
Open your recording(s) directly from your computer by:
- Dragging and dropping them into Foxglove
- Using
Cmd/Ctrl + o - Clicking Open local file(s) in the app
When opening multiple files, Foxglove will display the data as a single merged timeline. The files must be of the same format.
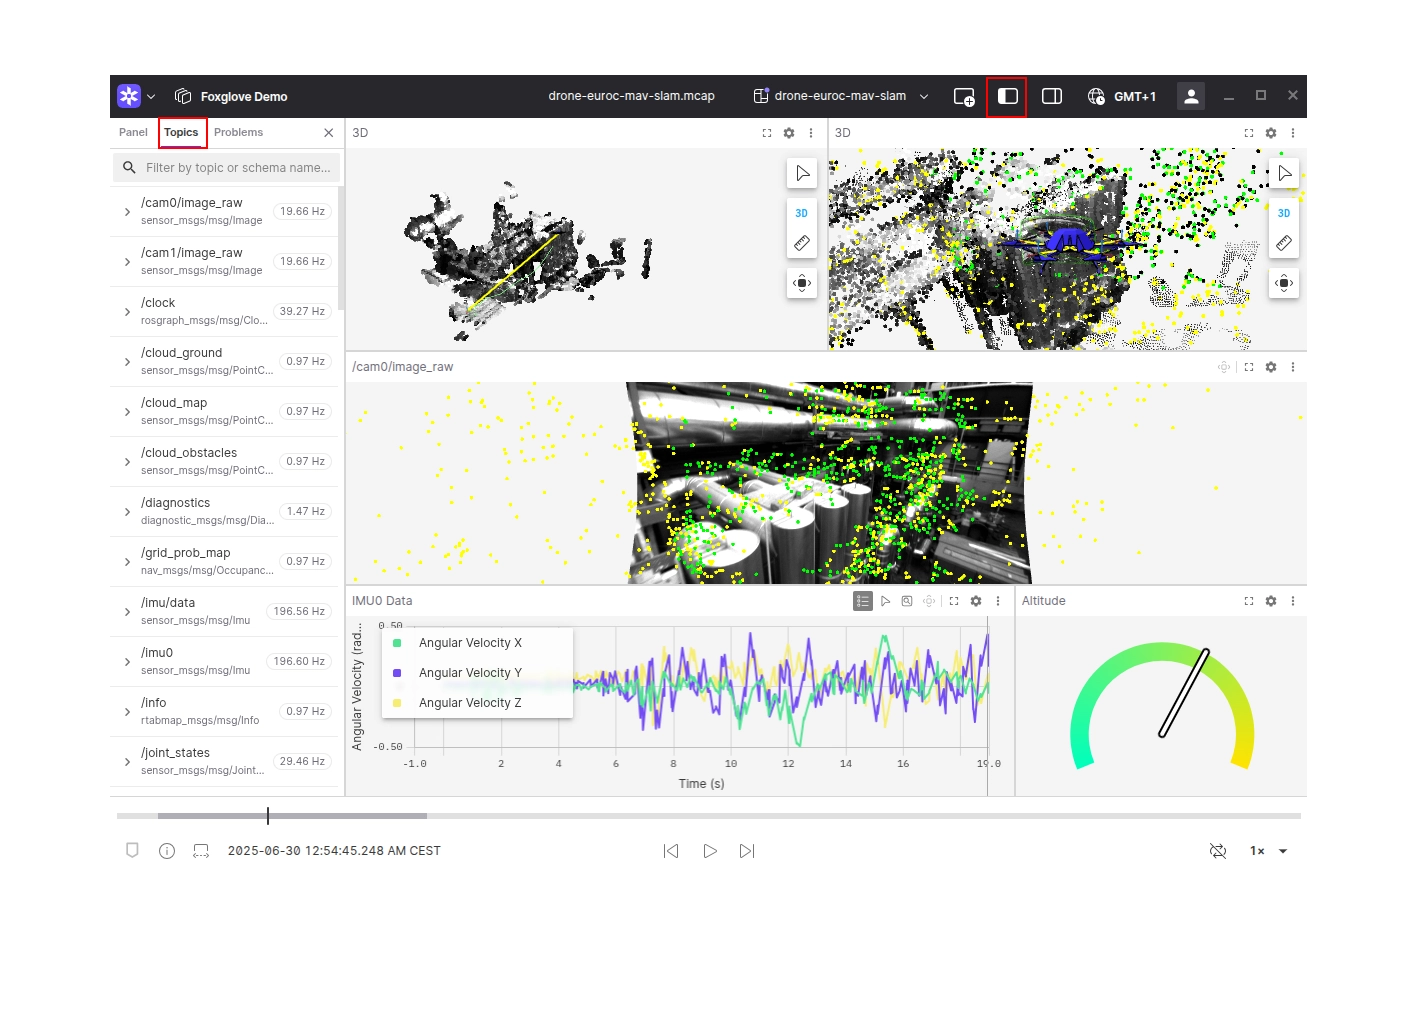
Explore your data
Your data is now available for exploring in Foxglove. Add some panels to begin visualizing what your robot is seeing and producing. Not sure where to start? Try adding a Raw Messages panel, Plot panel, or 3D panel.
To list available topics, open the left sidebar and open the Topics tab.
Links and resources
- SDK documentation with a more detailed example
- C++ reference
- Source code