SSO
Foxglove organizations on the Pro plan can require Google or Microsoft SSO for signin; Enterprise organizations can also use OIDC SSO as their authorization provider.
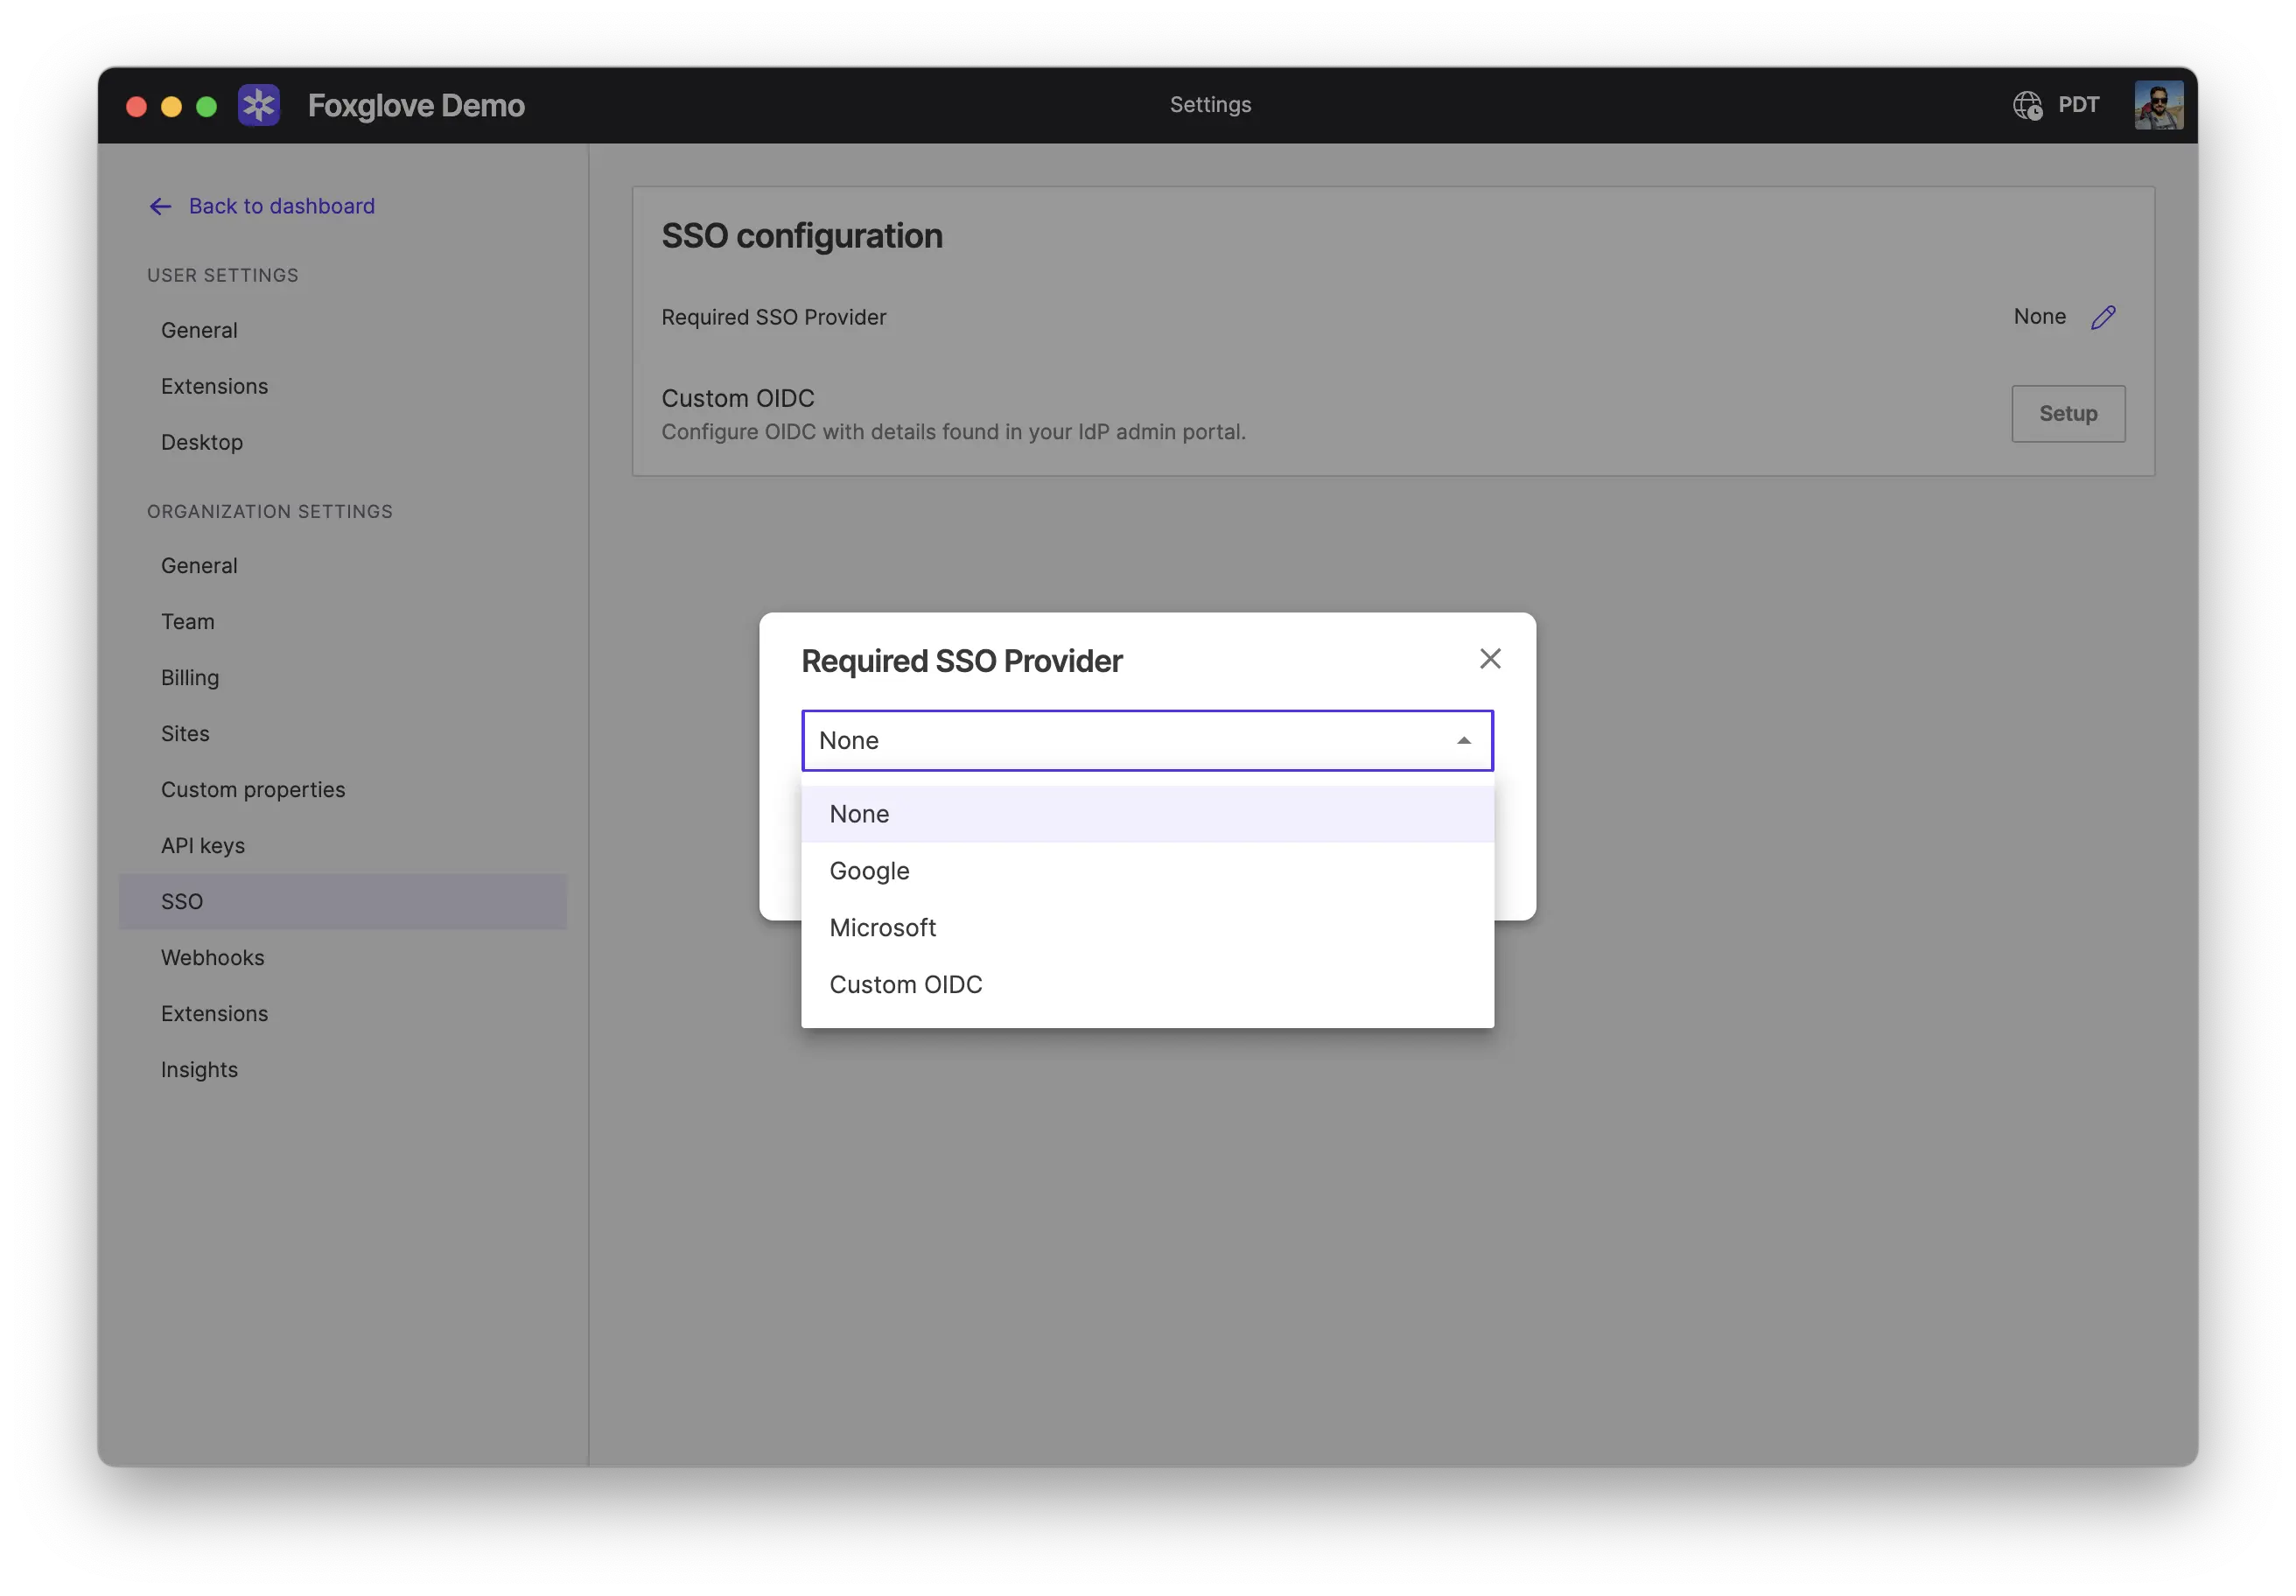
Require SSO
On the SSO settings page admins can select Google, Microsoft, or OIDC SSO as the organization's required authentication method. This disables signing in using all other providers, including email.
Custom OIDC signin
Available on the Enterprise plan. To start using OIDC for SSO, an admin needs to configure the Foxglove organization on the SSO settings page.
OIDC identity provider Configuration
Ensure that your chosen Identity Provider (IdP) supports the following OIDC standards and features:
- Discovery URL (Well-Known Config) – The IdP should expose its configuration through a URL that typically follows this format:
https://YOUR-IDP-DOMAIN/.well-known/openid-configuration - PKCE (Proof Key for Code Exchange) – PKCE adds an additional layer of security to the Authorization Code grant type.
- Include the user’s email claim in the ID token – Emails are used to connect new sign-ins with existing organization members.
Most IdPs will also ask you to configure the following:
Find your organization slug (YOUR-ORG-SLUG) in Organization Settings.
- Sign-in redirect URI – In
https://app.foxglove.dev/YOUR-ORG-SLUG/signinformat - Sign-out redirect URI –
https://app.foxglove.dev/YOUR-ORG-SLUG/signin - Trusted Origins – Add
https://app.foxglove.dev - Grant type – Authorization code
- Initiate Login URL – Use
https://app.foxglove.dev/YOUR-ORG-SLUG/signin?auto-select-provider=oidcfor a single-click login experience
This Foxglove logo works well on most IdP dashboards as a custom connection icon.
Foxglove OIDC configuration
Configure application settings on the SSO settings page:
Mandatory values are:
- Discovery URL – Find in the discovery URL (or well-known configuration URL) on your IdP dashboard. It typically follows this format:
https://YOUR-IDP-DOMAIN/.well-known/openid-configuration. - Client ID – Your OpenID Connect Application's client ID, provided by the IdP
- Issuer – Will be auto-filled from the discovery URL, and it must match the same value as well as the
issclaim in the incoming ID token. - Extra scopes – Besides
openidthese other scopes will be requested during authentication; typicallyemailandprofile.
Example: Create an Okta application
Find your organization slug (YOUR-ORG-SLUG) in Organization Settings.
Create a new app integration on your Okta dashboard:
- Sign-in method – OIDC - OpenID Connect
- Application type – Single-Page Application
- Access – Note that "Federation Broker Mode" is incompatible with Okta tiles
- Grant type – Authorization code
- Sign-in redirect URI
https://app.foxglove.dev/YOUR-ORG-SLUG/signin - Sign-out redirect URI –
https://app.foxglove.dev/YOUR-ORG-SLUG/signin - Trusted Origins – Add
https://app.foxglove.dev - Initiate Login URL – Use
https://app.foxglove.dev/YOUR-ORG-SLUG/signin?auto-select-provider=oidcfor a single-click login experience
Optionally, you can enable Okta application tile sign in using these settings:
- Login initiated by – Either Okta or App
- Login flow – Redirect to app to initiate login (OIDC Compliant)
- Login URI – Same as the sign-in redirect URL in the previous step (
https://app.foxglove.dev/YOUR-ORG-SLUG/signin) - Application visibility – Display application icon to users
Further reading: Okta's documentation on creating OIDC app integrations
Manage members
-
Provision organization members – Any OIDC user with access to the configured identity provider can sign in to Foxglove. A new Foxglove organization member is automatically created on first sign-in.
-
Remove users – Revoke the user's access in OIDC, then remove the associated organization member on Foxglove's Members settings page to sign them out of Foxglove immediately. If non-OIDC sign in methods are enabled for your account, emails matching your approved domains can always sign up.