Custom Data
Foxglove makes it easy to use custom data, whether you want to visualize live or recorded data. Foxglove supports multiple encodings: Protobuf, JSON, FlatBuffers, OMG IDL.
Local Data
You can load custom data into Foxglove by converting it to MCAP or writing a custom data loader that will tell Foxglove how to interpret your file format of choice (e.g., CSV, PCAP, binary files).
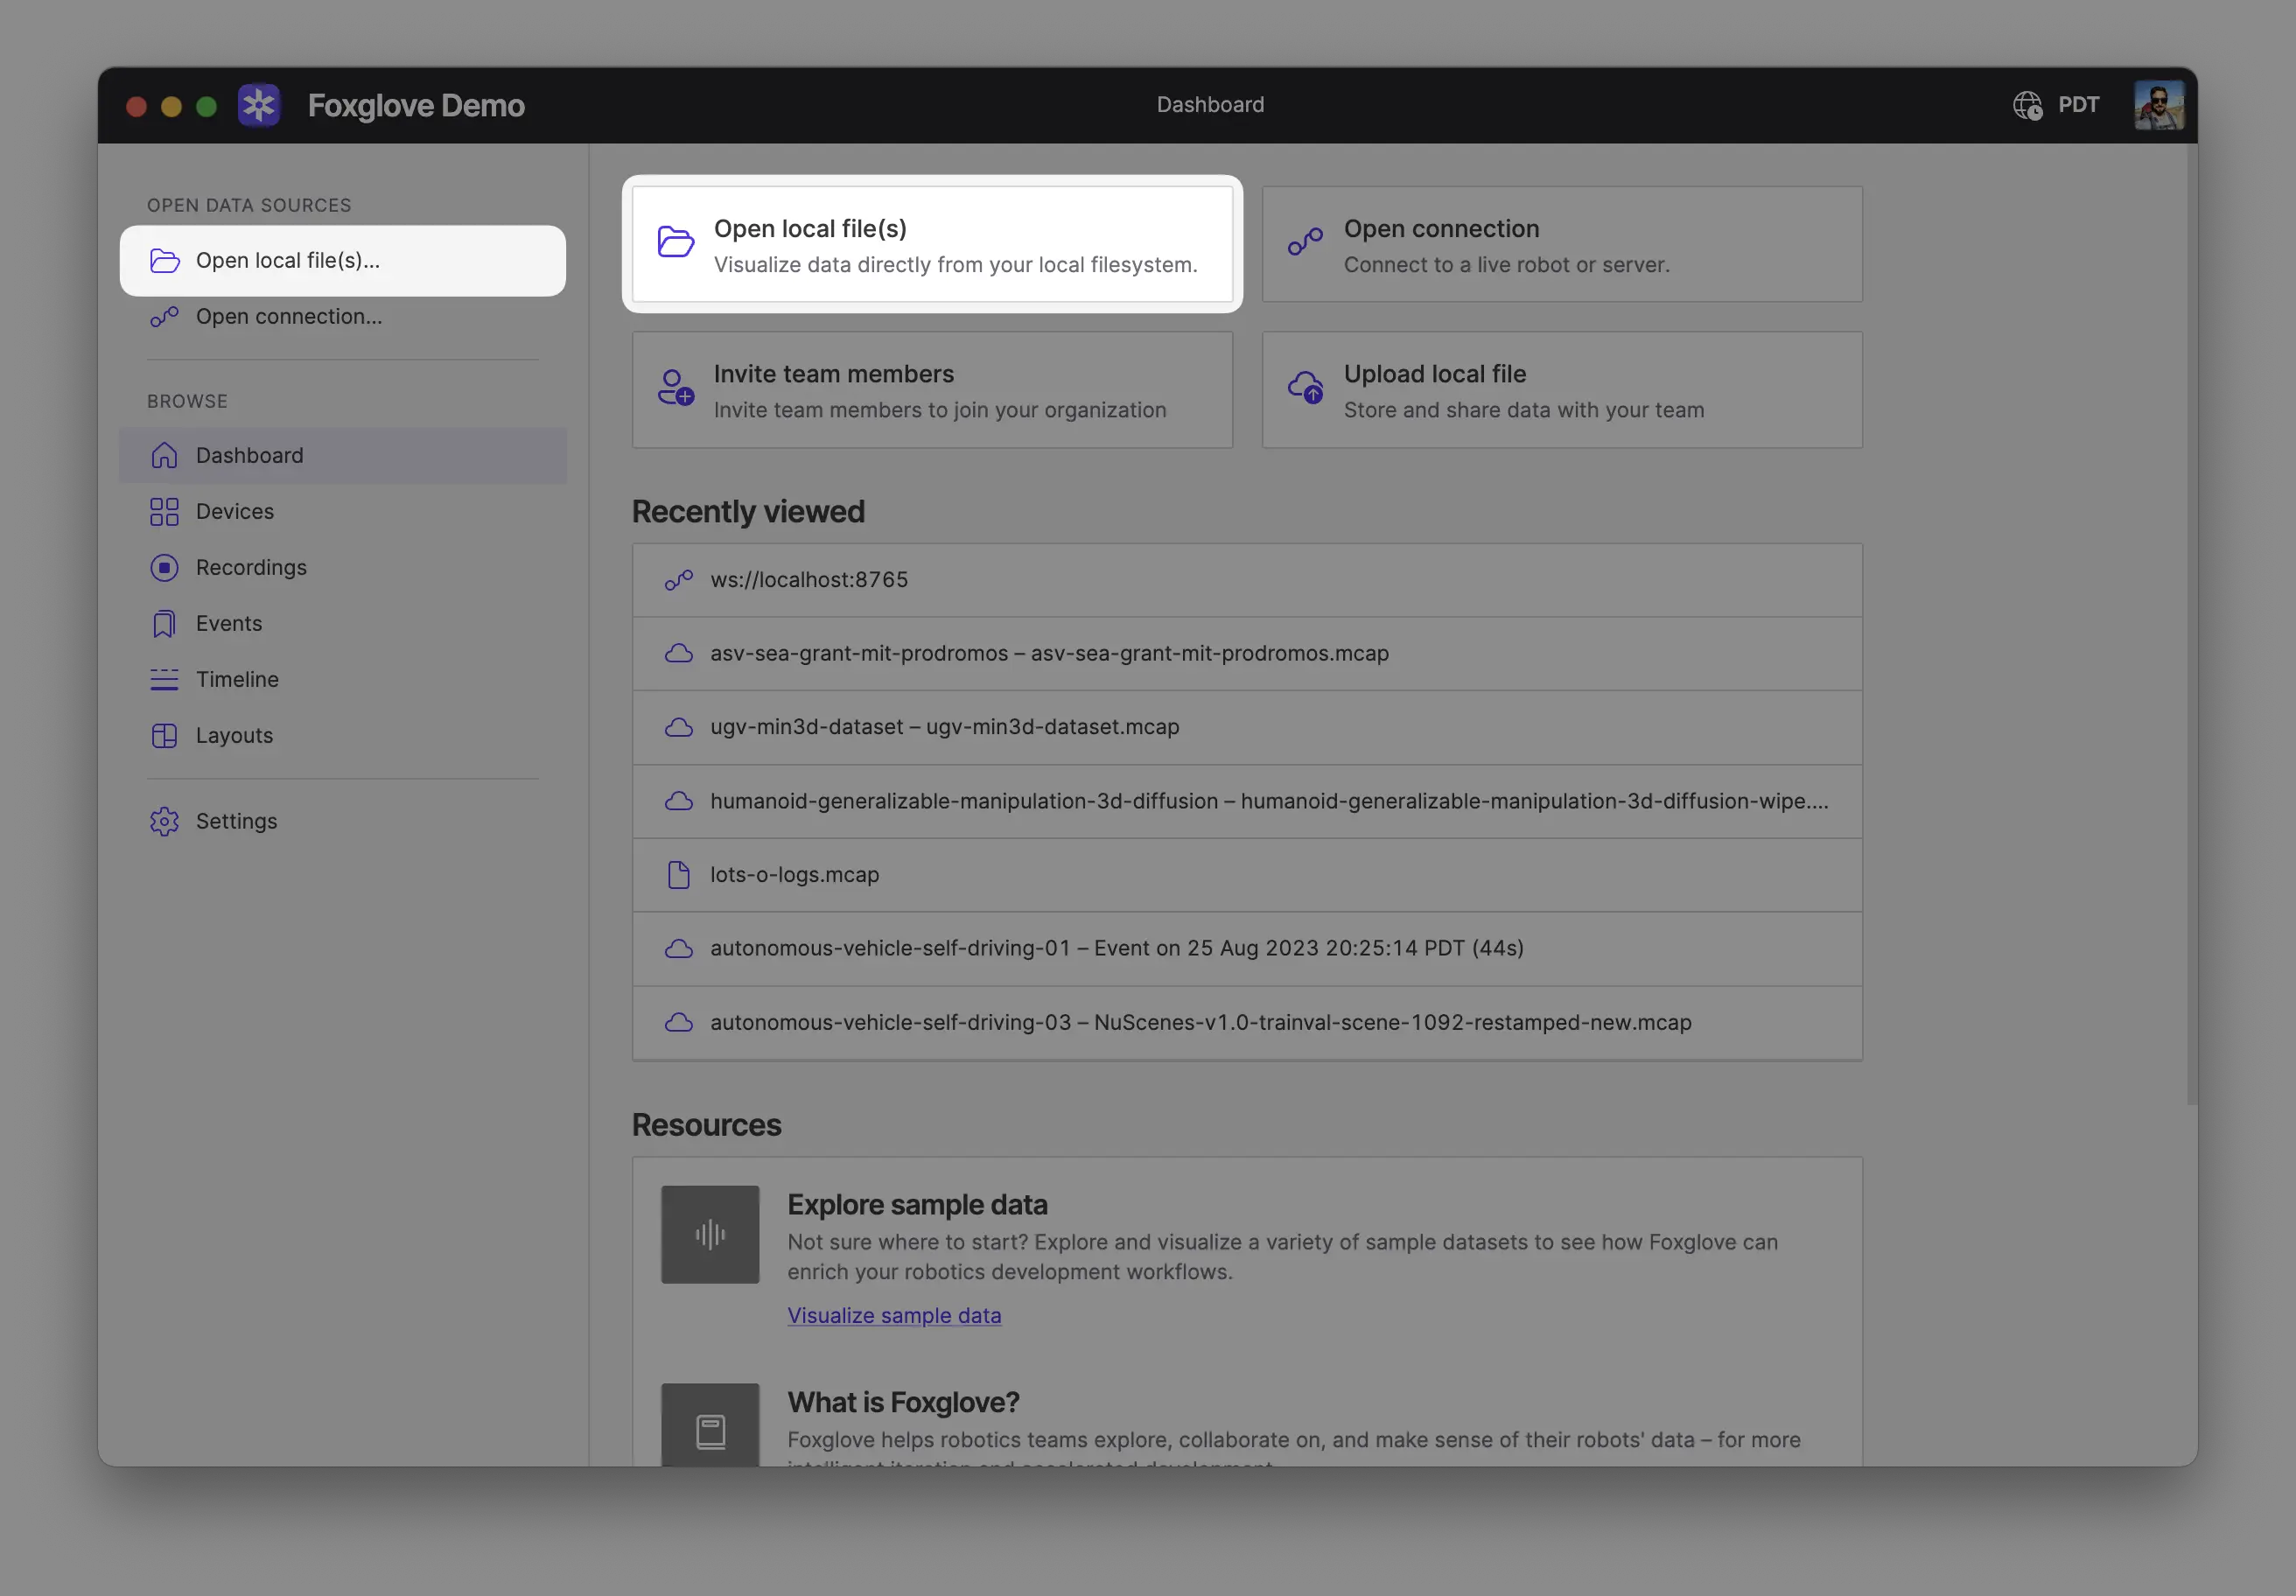
Open your recording(s) directly from your computer by:
- Dragging and dropping them into Foxglove
- Using
Cmd/Ctrl + o - Clicking Open local file(s) in the app
When opening multiple files, Foxglove will display the data as a single merged timeline. The files must be of the same format.
Remote File
Once you have an MCAP file in remote storage, follow the MCAP directions for opening it via URL in Foxglove.
Imported Data
Once you convert custom data to MCAP and import it to Foxglove, you can stream it directly for visualization.
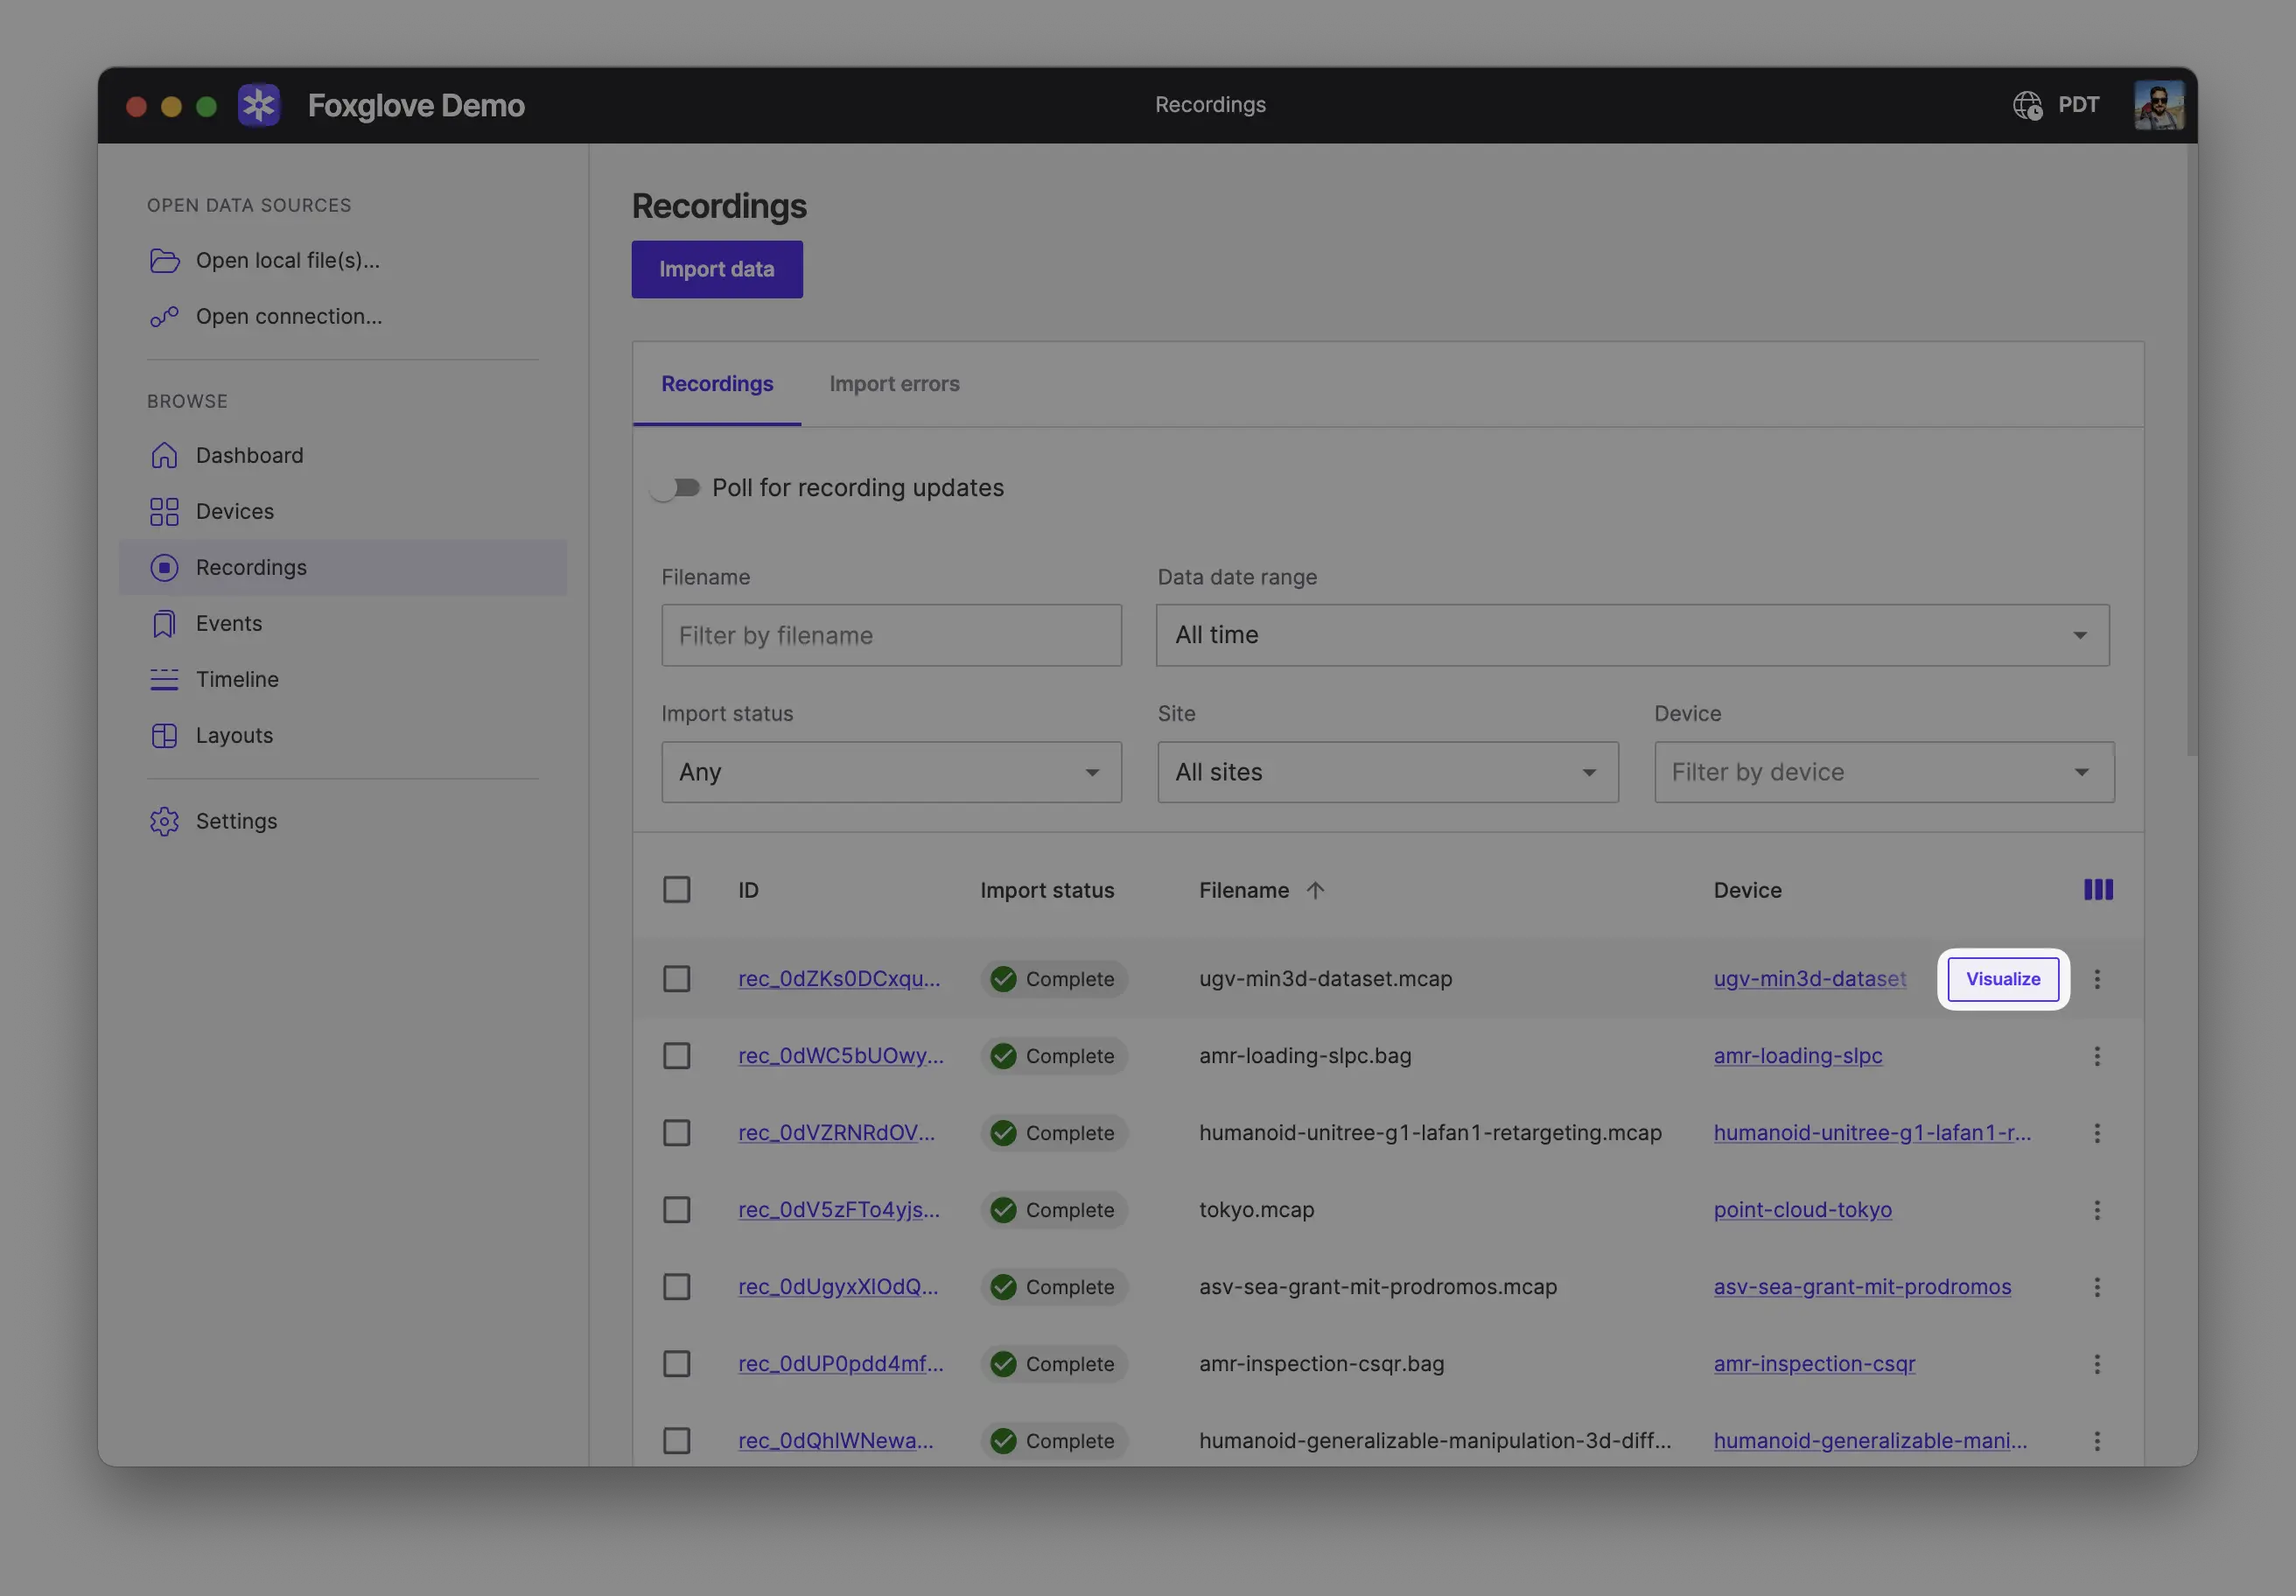
After importing data to Foxglove, select individual resources to visualize on the Recordings or Events pages:
Select a custom time range of data (can span multiple recordings or events) to visualize on the Timeline page:
Live Data
Use the Foxglove SDK to create a live connection to Foxglove from your custom code.
- Python
- Rust
- C++
import foxglove
import time

foxglove.start_server()

while True:
    foxglove.log("/hello", {"time": time.time()})
    time.sleep(0.03)
use std::{thread, time};

#[derive(foxglove::Encode)]
struct Message {
    elapsed: f64,
}

fn main() {
    foxglove::WebSocketServer::new()
        .start_blocking()
        .expect("Server failed to start");

    let start = time::SystemTime::now();
    loop {
        foxglove::log!(
            "/hello",
            Message {
                elapsed: start
                    .elapsed()
                    .expect("clock failed to elapse")
                    .as_secs_f64()
            }
        );
        thread::sleep(time::Duration::from_millis(30));
    }
}
#include <foxglove/foxglove.hpp>
#include <foxglove/server.hpp>

#include <chrono>
#include <csignal>
#include <iostream>
#include <thread>

using namespace std::chrono_literals;

int main(int argc, const char *argv[]) {
  foxglove::WebSocketServerOptions options;
  auto serverResult = foxglove::WebSocketServer::create(std::move(options));
  if (!serverResult.has_value()) {
    std::cerr << foxglove::strerror(serverResult.error()) << '\n';
    return 1;
  }

  auto server = std::move(serverResult.value());
  auto channel = foxglove::RawChannel::create("/hello", "json").value();
  auto start = std::chrono::steady_clock::now();

  // Log until interrupted
  static std::function<void()> sigint_handler;
  std::atomic_bool done = false;
  sigint_handler = [&] { done = true; };
  std::signal(SIGINT, [](int) {
    if (sigint_handler) {
      sigint_handler();
    }
  });

  while (!done) {
    auto dur = std::chrono::steady_clock::now() - start;
    float elapsed_seconds = std::chrono::duration<float>(dur).count();
    std::string msg = "{\"elapsed\": " + std::to_string(elapsed_seconds) + "}";
    channel.log(reinterpret_cast<const std::byte *>(msg.data()), msg.size());

    std::this_thread::sleep_for(33ms);
  }

  return 0;
}
For complete examples on how to use the Foxglove SDK, please see the SDK documentation.
While our legacy Foxglove WebSocket protocol libraries still can be used to connect to Foxglove, we are no longer maintaining those libraries and recommend that you use the new Foxglove SDK going forward.
Connect
With a WebSocket server started, select "Foxglove WebSocket" in the "Open data source" dialog, and enter the URL to your WebSocket server:
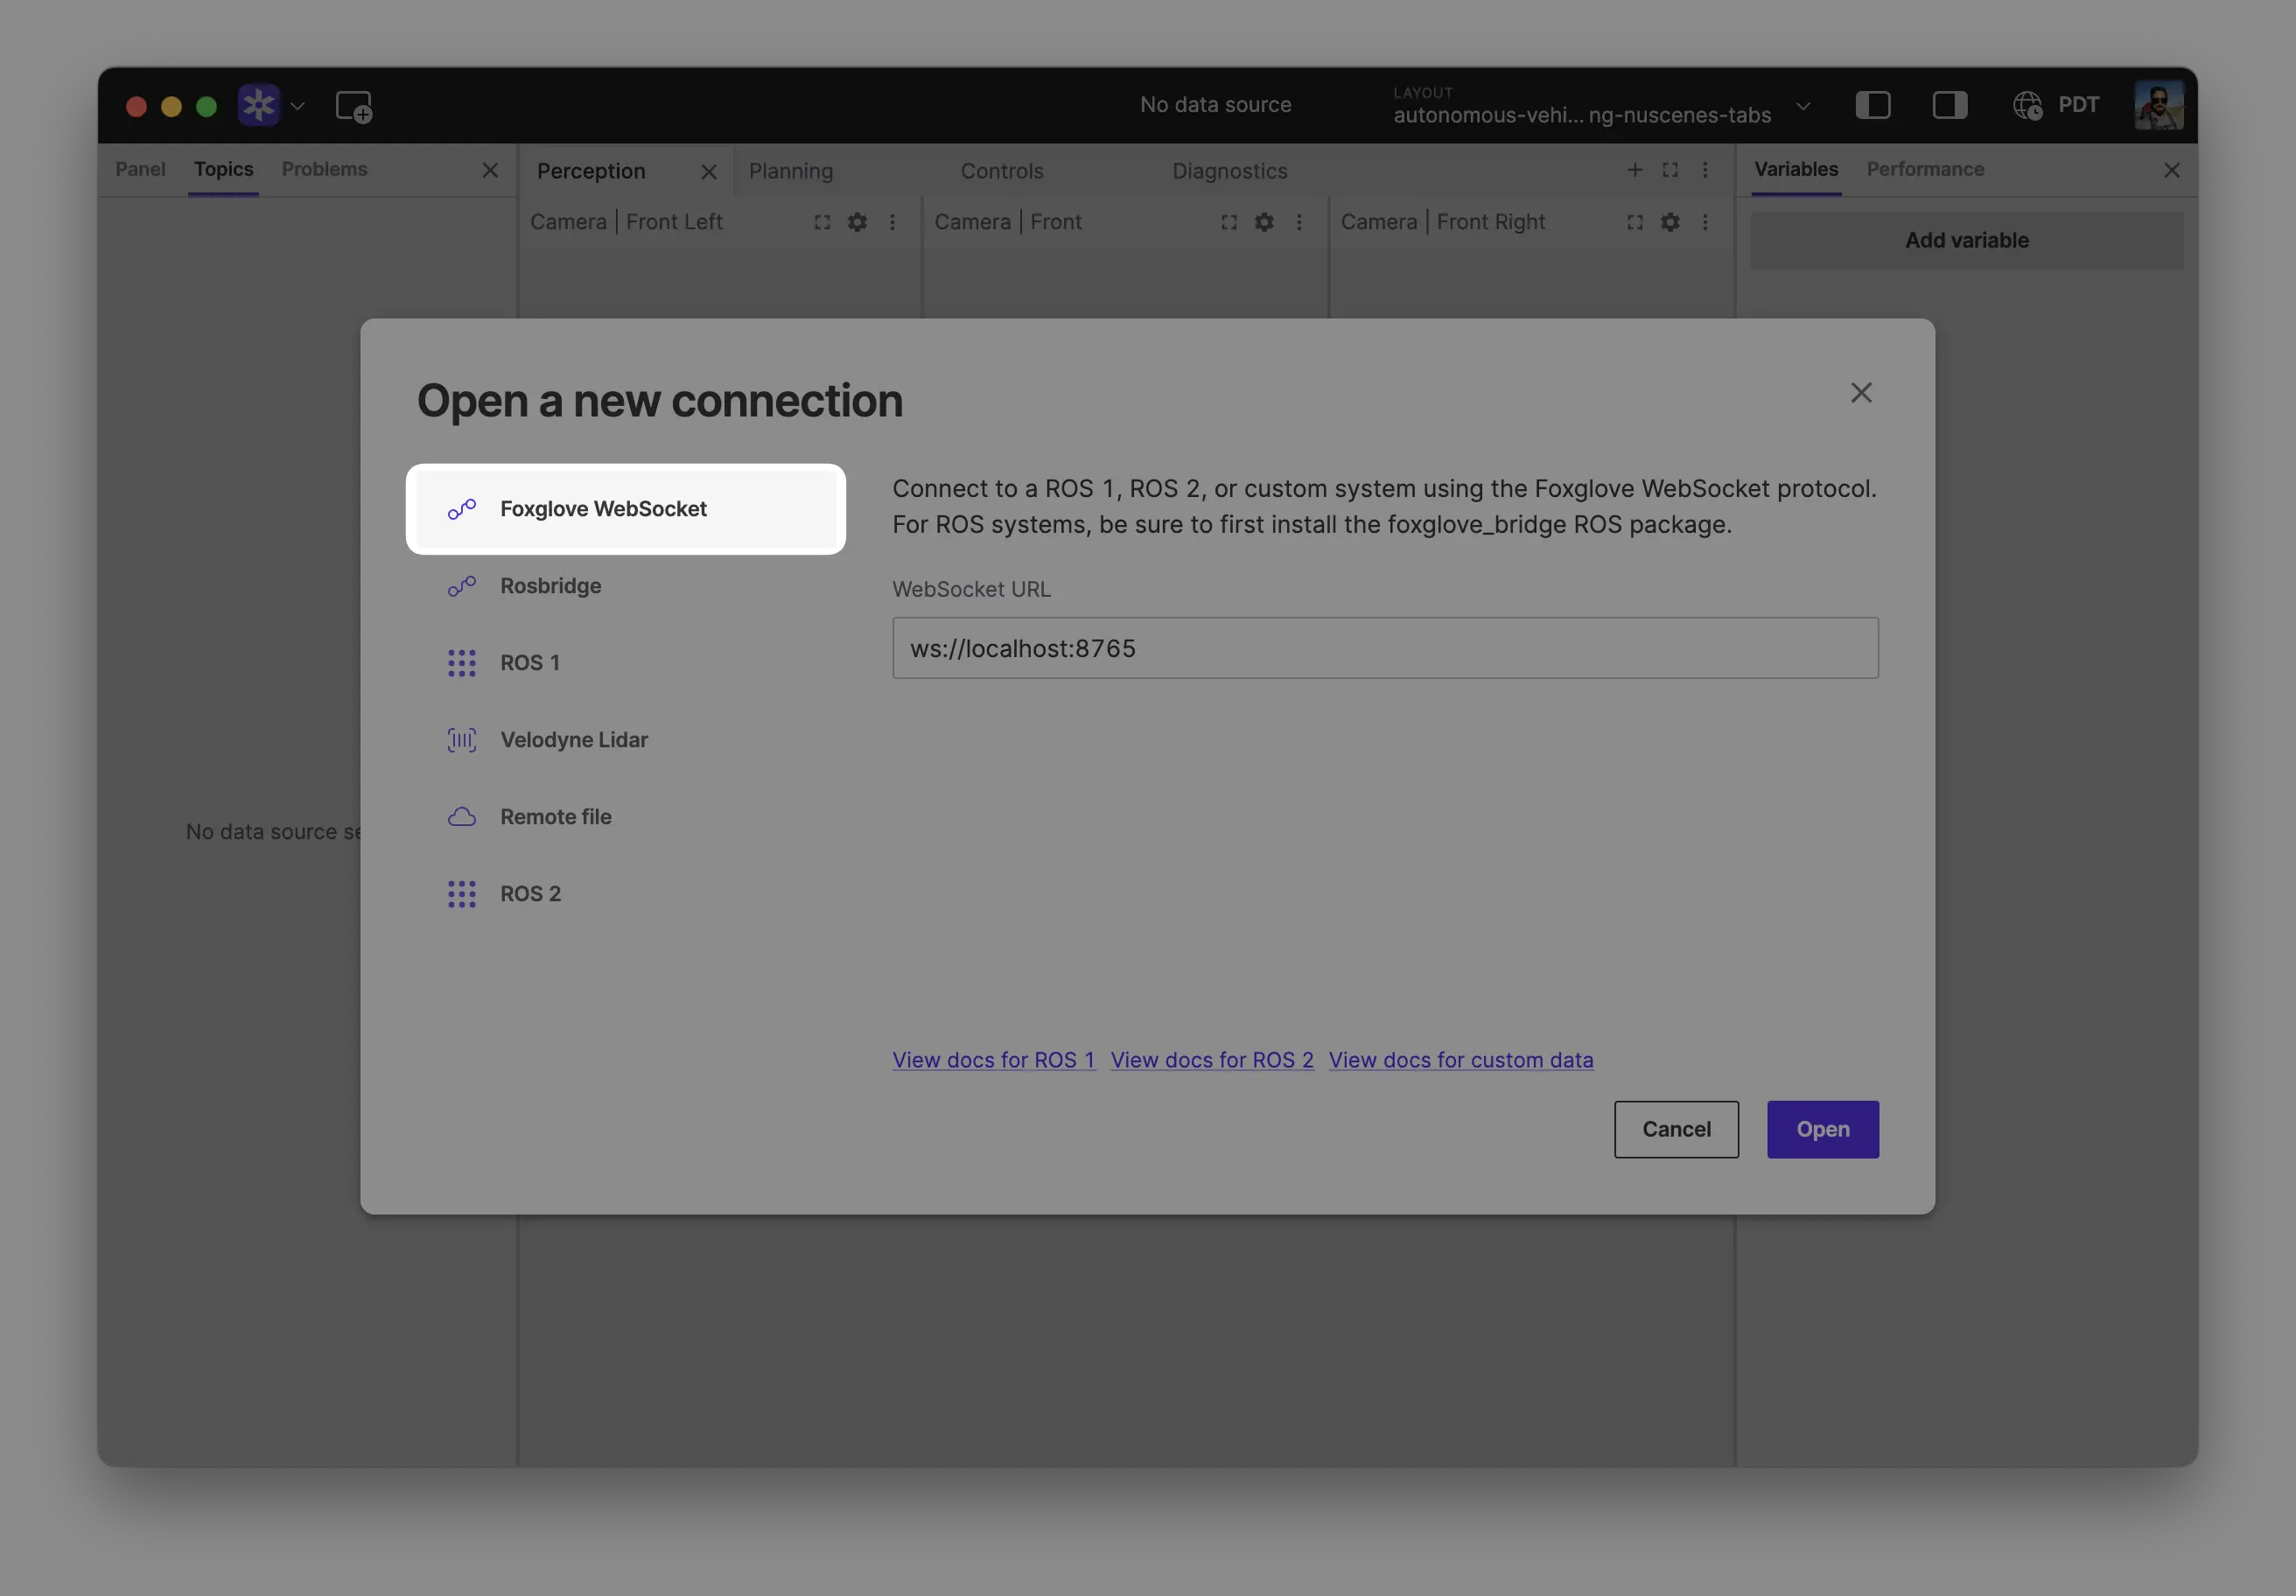
Now, you can insert a Raw Message or a Plot panel and visualize your data in real-time.
Schema Encodings
Both MCAP-based and Foxglove WebSocket sources support several message and schema encodings. For detailed information about each encoding format, see Custom Schema Encodings.